Spiderweb Cake
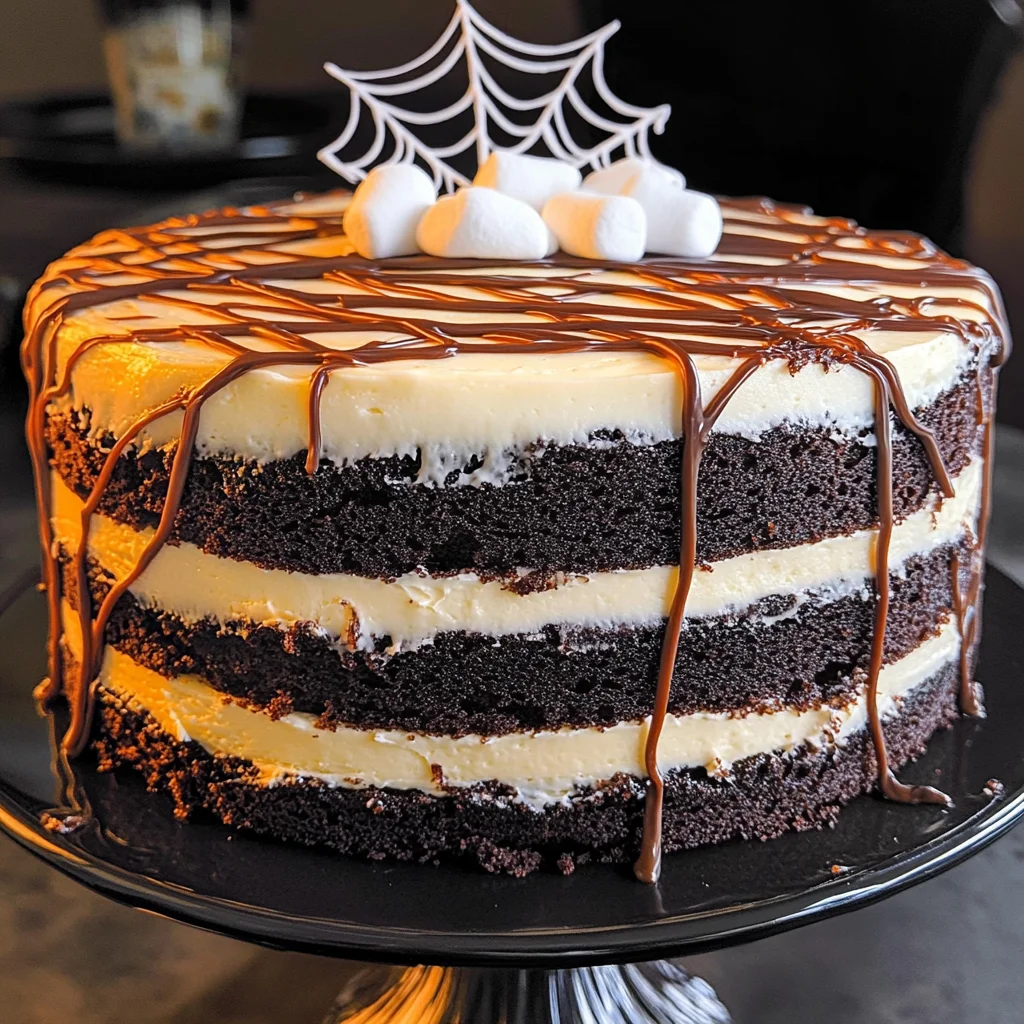
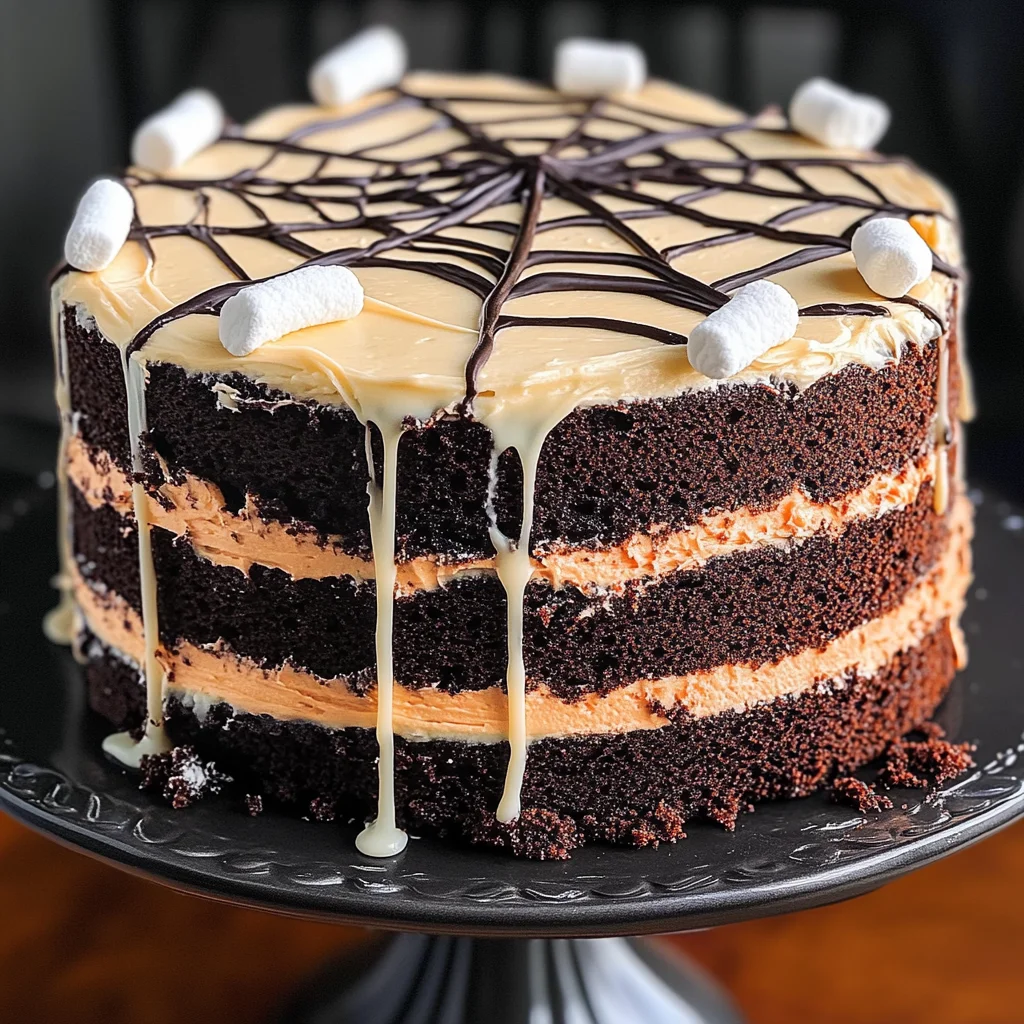
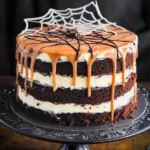
If you’re looking for a fun and spooky treat to impress friends and family, the Spiderweb Cake is just the ticket! This cake is not only a showstopper with its rich chocolate layers and creamy frosting, but it also has an eerie charm that makes it perfect for Halloween parties or any gathering where you want to bring a bit of festive flair. It’s always a hit at family gatherings, and trust me, no one can resist a slice of this deliciously spooky creation!
What makes this Spiderweb Cake extra special is its simplicity. You don’t have to be a baking pro to pull this off; it’s surprisingly easy! Whether you’re making it for a busy weeknight dessert or planning something sweet for a holiday get-together, this cake will surely bring smiles all around.
Why You’ll Love This Recipe
- Easy to make: With straightforward steps and simple ingredients, you’ll have this cake ready in no time!
- Family-friendly: Everyone loves chocolate, and the fun spiderweb design adds an element of excitement for kids and adults alike.
- Versatile ingredients: You can use all-purpose, whole wheat, or gluten-free flour—perfect for any dietary need.
- Make-ahead friendly: Bake the layers in advance and frost them later; this cake holds up well in the fridge!
- Impressive presentation: The spooky web made from vegan marshmallows will wow your guests and make you look like a star baker!
Ingredients You’ll Need
To whip up this delightful Spiderweb Cake, you’ll need some simple and wholesome ingredients that you likely already have in your pantry. Let’s gather everything we need:
For the Cake
- 3 cups granulated sugar
- 2 1/2 cups + 2 tablespoons flour (see notes)
- 3/4 cup + 2 tbsp Dutch-process cocoa powder
- 1/4 cup black cocoa powder (or more Dutch-process cocoa)
- 1 1/2 teaspoons baking powder
- 1 1/2 teaspoons baking soda
- 1 1/2 teaspoons salt
- 3 large eggs (or chia eggs – see notes)
- 1 1/2 cups milk (see notes)
- 3/4 cup olive oil (or canola/vegetable oil)
- 1 tablespoon vanilla extract
- 1 cup + 2 tablespoons boiling water
For the Frosting
- 24 ounces full-fat cream cheese (room temperature)
- 1 cup + 2 tablespoons unsalted butter
- 3 3/4 cups powdered sugar (or more if you like)
- 1 1/2 teaspoons vanilla extract
- pinch of salt
For Decoration
- orange gel food coloring (see notes)
- 2 cups mini vegan marshmallows (see notes)
- plastic spiders
Variations
The beauty of the Spiderweb Cake is how flexible it is! You can easily adapt it based on what you have on hand or your personal preferences. Here are some fun ideas:
- Change up the frosting: Swap cream cheese frosting for whipped coconut cream if you’re looking for something lighter.
- Add layers of flavor: Consider adding orange zest to the batter for a citrusy twist that pairs beautifully with chocolate.
- Make it gluten-free: Simply substitute all-purpose flour with your favorite gluten-free blend, and you’re good to go!
- Try different colors: Instead of orange food coloring, experiment with purple or green to match your party theme!
How to Make Spiderweb Cake
Step 1: Prepare Your Cake Batter
Start by preheating your oven to 350°F (175°C). Grease and flour your cake pans. In a large bowl, mix together the granulated sugar, flour, Dutch-process cocoa powder, black cocoa powder, baking powder, baking soda, and salt. Whisking these dry ingredients together thoroughly ensures an even distribution of flavors.
Step 2: Combine Wet Ingredients
In another bowl, whisk together the eggs (or chia eggs), milk, olive oil, and vanilla extract until well blended. This step adds moisture to your cake batter and helps create that rich texture we love in chocolate cakes.
Step 3: Mix It All Together
Gradually add the wet mixture into your dry ingredients while stirring gently. Once combined, pour in the boiling water carefully; this step may seem odd but trust me—it helps create a moist cake! Mix until everything is smooth.
Step 4: Bake Your Cakes
Divide the batter evenly between your prepared pans. Bake in your preheated oven for about 24 minutes or until a toothpick inserted into the center comes out clean. Let them cool completely before removing from pans; cooling prevents cracking.
Step 5: Make The Frosting
While your cakes are cooling, prepare your frosting by beating together room-temperature cream cheese and butter until fluffy. Gradually add powdered sugar and whisk until smooth. Add vanilla extract and a pinch of salt; taste as you go—you want it just right!
Step 6: Assemble Your Spiderweb Cake
Once cooled, place one layer on a serving platter. Spread an even layer of frosting on top before adding the second layer. Frost the entire cake smoothly—the neater you are now means less mess when decorating!
Step 7: Create The Spooky Web
For that signature spiderweb look, melt down vegan marshmallows slightly so they become pliable. Use orange gel food coloring to tint them if desired. Carefully stretch them across the top of your cake in a web pattern before placing plastic spiders for that final touch.
And there you have it—your very own stunning Spiderweb Cake! Enjoy every slice of this deliciously spooky treat at your next celebration!
Pro Tips for Making Spiderweb Cake
Creating a stunning Spiderweb Cake is easier than you might think! Here are some helpful tips to make your baking experience even more enjoyable.
-
Measure Your Ingredients Accurately: Use a kitchen scale for precision to ensure your cake layers turn out perfectly. Accurate measurements can greatly affect the texture and flavor.
-
Use Room Temperature Ingredients: Allow your eggs, cream cheese, and butter to come to room temperature before mixing. This helps create a smoother batter and a fluffier cake.
-
Sift Your Dry Ingredients: Sifting the flour and cocoa powder removes lumps and aerates the mixture, resulting in a lighter cake. Plus, it ensures even distribution of baking powder and soda.
-
Don’t Overmix the Batter: Mix just until combined when adding wet ingredients to dry. Overmixing can lead to a dense cake rather than a light, airy one.
-
Cool Layers Completely: Allow the cake layers to cool completely before frosting. This prevents melting and sliding of the frosting, resulting in beautiful, clean layers.
How to Serve Spiderweb Cake
Making your Spiderweb Cake look as good as it tastes is part of the fun! Here are some creative ideas for presenting this spooky delight at your next gathering.
Garnishes
- Edible Glitter: A sprinkle of edible glitter on top can add an enchanting sparkle that enhances the spooky theme.
- Fresh Orange Zest: A sprinkle of fresh orange zest not only adds color but also brings a bright citrusy aroma that contrasts beautifully with the rich chocolate.
- Chocolate Shavings: For an elegant touch, garnish with chocolate shavings on top of the frosting for added texture and richness.
Side Dishes
- Pumpkin Spice Whipped Cream: Lightly sweetened whipped cream infused with pumpkin spice complements the rich chocolate layers without overpowering them.
- Vegan Ice Cream: Serve slices of your Spiderweb Cake alongside vegan vanilla or chocolate ice cream for a delightful contrast in flavors and temperatures.
- Fruit Salad: A refreshing fruit salad with seasonal fruits balances out the richness of the cake with its natural sweetness.
- Spiced Hot Chocolate: A warm mug of spiced hot chocolate makes for a cozy pairing, especially during fall gatherings. The spices will enhance the overall dessert experience!
With these serving suggestions and pro tips in hand, you’re all set to impress your guests with this deliciously spooky Spiderweb Cake! Happy baking!
Make Ahead and Storage
This Spiderweb Cake is perfect for meal prep, allowing you to create a delicious dessert in advance for any gathering or celebration. With a few simple storage tips, you can enjoy this cake even days later without losing its delightful flavor and texture.
Storing Leftovers
- Store leftover cake in an airtight container at room temperature for up to 3 days.
- If you prefer to keep it longer, refrigerate the cake for up to a week.
- Make sure the cake is fully cooled before covering it to prevent condensation.
Freezing
- To freeze, wrap slices or the whole cake tightly with plastic wrap, followed by aluminum foil.
- The cake can be frozen for up to 2 months.
- Thaw in the refrigerator overnight before serving.
Reheating
- For best results, let the cake come to room temperature before serving.
- If desired, warm individual slices in the microwave for about 10-15 seconds for a cozy treat.
FAQs
Here are some common questions about making a Spiderweb Cake.
Can I make Spiderweb Cake gluten-free?
Absolutely! You can substitute all-purpose flour with gluten-free flour blend to keep this recipe deliciously gluten-free while maintaining its rich flavor.
How do I create the spiderweb design on my Spiderweb Cake?
To create the spiderweb design, use orange gel food coloring mixed with vegan marshmallows. Pipe concentric circles on top of your frosted cake and drag a toothpick or skewer from the center outward to form web-like shapes.
What can I use instead of eggs in my Spiderweb Cake?
You can easily replace eggs with chia eggs. Combine 1 tablespoon of chia seeds with 2.5 tablespoons of water per egg and let it sit until it thickens—perfect for binding!
How long does it take to make Spiderweb Cake?
The total time for making this delightful cake is about 4 hours, including prep and cooling time. It’s well worth the wait!
Final Thoughts
I hope you’re as excited as I am about making this spooky yet scrumptious Spiderweb Cake! It’s not only a feast for the eyes but also a treat that everyone will love. Your friends and family will surely be impressed by your baking skills! Enjoy creating this festive dessert, and don’t forget to share your experience with me—I’d love to hear how it turned out!
Spiderweb Cake
- Prep Time: 30 minutes
- Cook Time: 24 minutes
- Total Time: 54 minutes
- Yield: Serves approximately 12 slices 1x
- Category: Dessert
- Method: Baking
- Cuisine: American
Description
If you’re in search of a show-stopping dessert that’s both delicious and visually captivating, look no further than the Spiderweb Cake! This rich chocolate layer cake, adorned with a fun spiderweb design, is perfect for Halloween celebrations or any gathering where you want to impress. With its simple ingredients and easy-to-follow steps, even novice bakers can create this spooky delight. The cake is moist, perfectly sweetened, and topped with creamy frosting that everyone will love. Plus, the unique decoration using vegan marshmallows adds an extra touch of creativity. Get ready to wow your friends and family with this delightful treat!
Ingredients
- 3 cups granulated sugar
- 2 ½ cups flour (or gluten-free blend)
- ¾ cup Dutch-process cocoa powder
- ¼ cup black cocoa powder (or more Dutch-process cocoa)
- 1 ½ teaspoons baking powder
- 1 ½ teaspoons baking soda
- 1 ½ teaspoons salt
- 3 large eggs (or chia eggs)
- 1 ½ cups milk (or non-dairy alternative)
- ¾ cup olive oil (or canola/vegetable oil)
- 1 tablespoon vanilla extract
- 1 cup + 2 tablespoons boiling water
- 24 ounces cream cheese (room temperature)
- 1 cup + 2 tablespoons unsalted butter
- 3 ¾ cups powdered sugar (or more if you like)
- pinch of salt
- orange gel food coloring
- 2 cups mini vegan marshmallows
- plastic spiders
Instructions
- Preheat your oven to 350°F (175°C) and grease two cake pans.
- In a large bowl, combine sugar, flour, cocoa powders, baking powder, baking soda, and salt.
- In another bowl, whisk together eggs (or chia eggs), milk, olive oil, and vanilla extract.
- Gradually add the wet mixture to the dry ingredients and mix until smooth. Carefully mix in boiling water.
- Pour batter into prepared pans and bake for about 24 minutes or until a toothpick comes out clean.
- Allow cakes to cool completely before frosting.
- For frosting, beat cream cheese and butter together until fluffy; gradually add powdered sugar and mix until smooth.
- Frost the cooled cakes and create a spiderweb pattern with melted vegan marshmallows tinted with orange food coloring.
Nutrition
- Serving Size: 1 slice - approx. 100g
- Calories: 360
- Sugar: 40g
- Sodium: 250mg
- Fat: 18g
- Saturated Fat: 8g
- Unsaturated Fat: 10g
- Trans Fat: 0g
- Carbohydrates: 50g
- Fiber: 2g
- Protein: 4g
- Cholesterol: 45mg

