Reese’s Peanut Butter Earthquake Cake
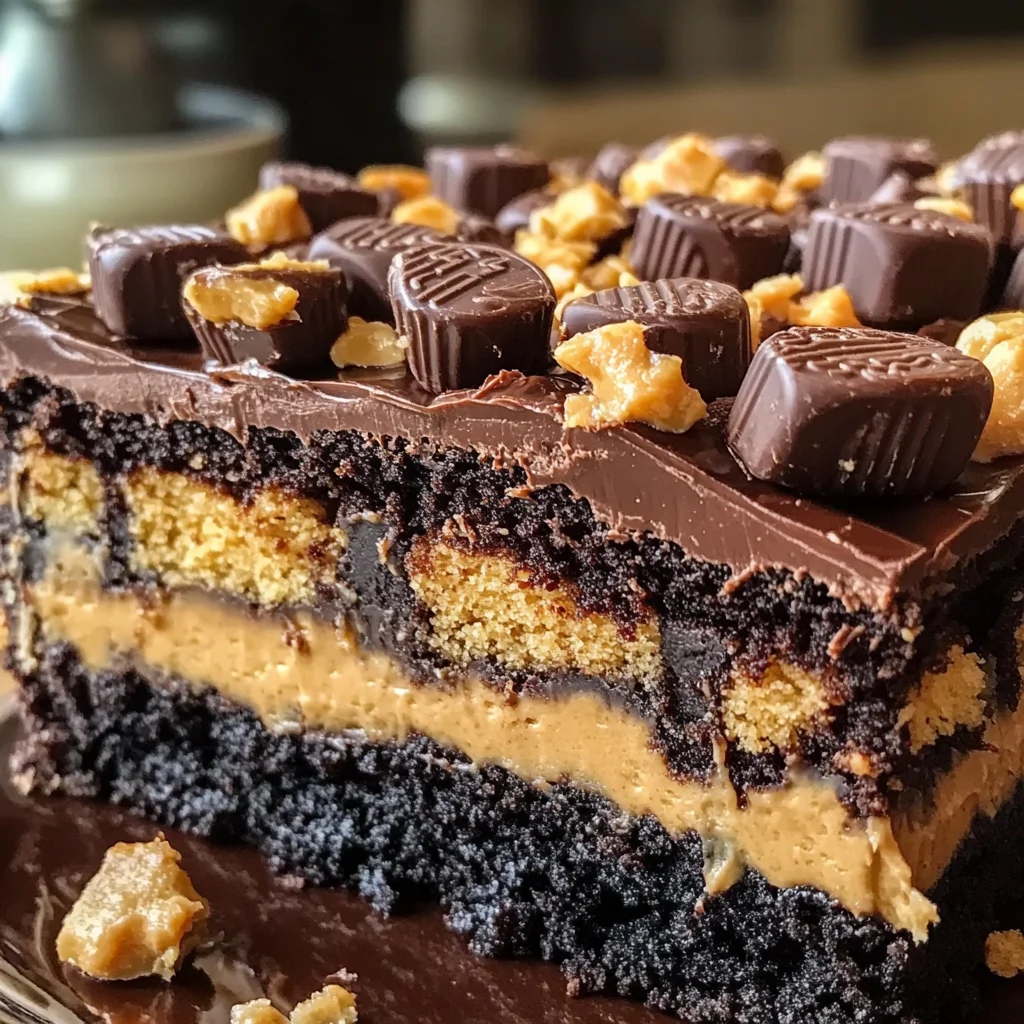
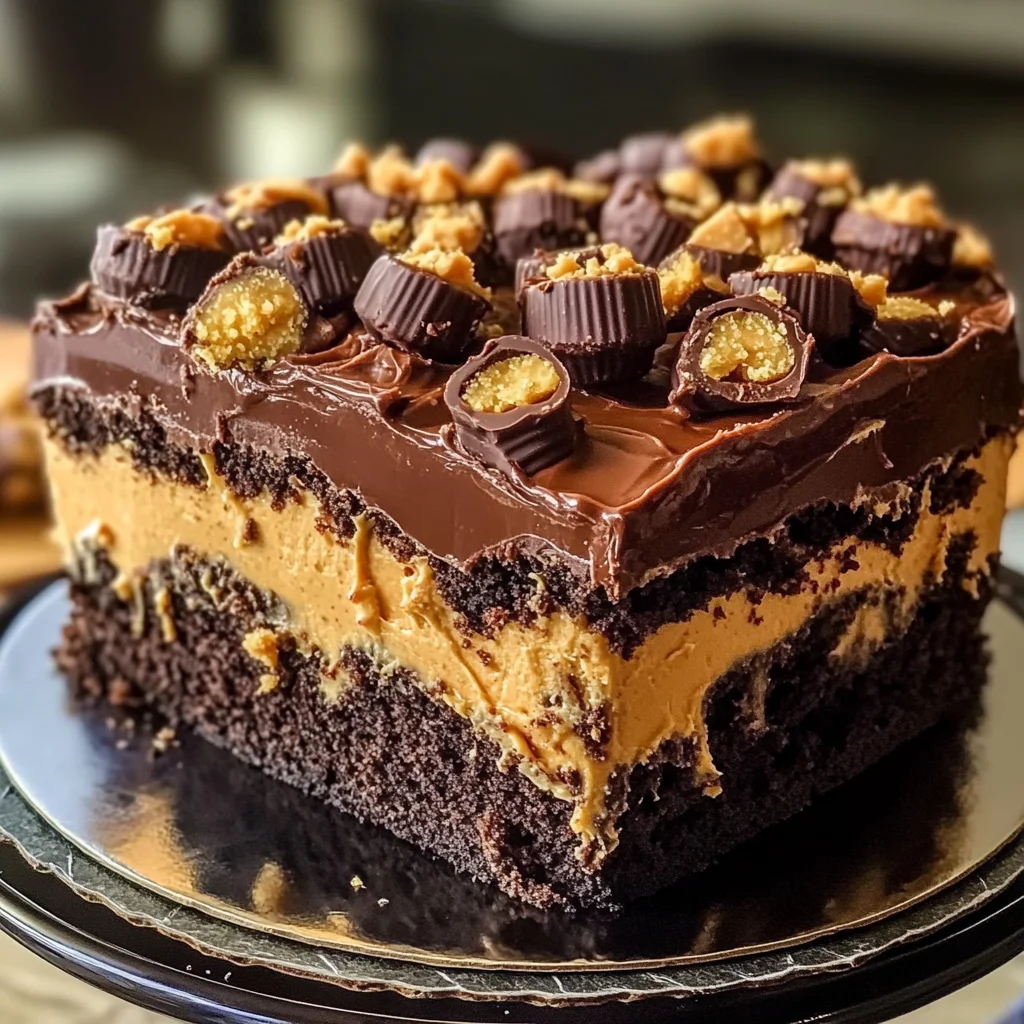
If you’re looking for a dessert that’s sure to impress, let me introduce you to my beloved Reese’s Peanut Butter Earthquake Cake. This cake is an absolute showstopper! Imagine biting into a rich chocolate cake with a gooey, layered center filled with creamy peanut butter goodness. It’s topped with chunks of Reese’s Peanut Butter Cups, making it an indulgent treat that everyone will adore.
Whether you’re hosting a family gathering or just want to brighten up a busy weeknight, this cake fits the bill perfectly. Its irresistible flavors and warm, cozy vibe make it a favorite in my home, and I bet it will become one in yours too!
Why You’ll Love This Recipe
- Super easy to make: With just a few simple steps, you’ll have a delicious dessert ready in no time.
- Family-friendly appeal: Everyone loves chocolate and peanut butter! This cake is a guaranteed crowd-pleaser.
- Perfect for any occasion: Whether it’s a birthday party or just because, this cake is perfect for sharing.
- Deliciously gooey texture: The combination of peanut butter and chocolate creates layers of flavor that are simply divine.
- Make-ahead convenience: Bake it ahead of time, and enjoy it warm or at room temperature—it’s delightful either way!
Ingredients You’ll Need
Let’s gather some simple and wholesome ingredients to create this heavenly dessert. You probably have most of these items already in your pantry!
- 1 box chocolate cake mix
- 1 cup water
- 1/2 cup vegetable oil
- 3 large eggs
- 1 cup creamy peanut butter
- 8 oz cream cheese, softened
- 1/2 cup unsalted butter, melted
- 4 cups powdered sugar
- 1 tsp vanilla extract
- 1 cup Reese’s Peanut Butter Cups, chopped
Variations
One of the best things about this recipe is its flexibility! Here are some fun variations to personalize your cake:
- Add nuts: Toss in some chopped peanuts for an extra crunch and nutty flavor.
- Use different candies: Try swapping out Reese’s for other favorite candies like Snickers or M&Ms.
- Make it gluten-free: Use a gluten-free chocolate cake mix for those with dietary restrictions.
- Experiment with flavors: Add a pinch of sea salt on top before serving for a sweet and salty twist!
How to Make Reese’s Peanut Butter Earthquake Cake
Step 1: Preheat the Oven
First things first! Preheat your oven to 350°F (175°C). This ensures that your cake bakes evenly from the start. Don’t forget to grease your 9×13-inch baking dish so that your delightful creation comes out easily once baked.
Step 2: Mix the Cake Batter
In a large bowl, mix together the chocolate cake mix, water, vegetable oil, and eggs until everything is well combined. This step is crucial because it sets the foundation for our delicious cake. Once mixed, pour the batter into your prepared baking dish.
Step 3: Prepare the Peanut Butter Mixture
In another bowl, combine the creamy peanut butter, softened cream cheese, melted butter, powdered sugar, and vanilla extract. Mix until smooth and velvety! This mixture adds richness and depth to your cake that you won’t want to miss.
Step 4: Create Swirls
Now comes the fun part! Drop spoonfuls of the peanut butter mixture over the chocolate batter. Use a knife to gently swirl it in—this technique creates those beautiful gooey layers we all love.
Step 5: Add Reese’s Cups
Sprinkle the chopped Reese’s Peanut Butter Cups evenly over the top of your masterpiece. These little chunks will melt slightly during baking, adding bursts of flavor throughout each slice.
Step 6: Bake It Up!
Pop your baking dish into the preheated oven and bake for about 35-40 minutes. Keep an eye on it; when a toothpick inserted into the center comes out mostly clean, it’s done!
Step 7: Cool and Serve
Let your cake cool slightly before serving—it will be hard to resist when warm! You can enjoy it straight from the pan or plate it up for a more polished presentation. Either way, get ready for smiles all around as everyone digs in!
With these steps complete, you’re now ready to create your own Reese’s Peanut Butter Earthquake Cake! Enjoy every decadent bite!
Pro Tips for Making Reese’s Peanut Butter Earthquake Cake
Making this indulgent cake is a breeze if you follow these helpful tips!
-
Use room temperature ingredients: Bringing your eggs and cream cheese to room temperature helps them blend smoothly, resulting in a creamy filling that enhances the cake’s texture.
-
Don’t overmix the batter: Mixing just until combined ensures a tender cake. Overmixing can lead to a dense, chewy texture instead of the light, fluffy cake we all love.
-
Swirl gently: When incorporating the peanut butter mixture into the batter, use a gentle swirling motion. This keeps distinct layers that create that signature earthquake effect without completely blending everything together.
-
Check doneness carefully: Ovens can vary significantly in temperature. Start checking your cake a few minutes before the baking time is up by inserting a toothpick; it should come out with a few moist crumbs but not wet batter.
-
Serve warm for maximum gooeyness: Allowing the cake to cool slightly before serving helps it set up perfectly but serving it warm enhances the gooey, dreamy center that everyone loves!
How to Serve Reese’s Peanut Butter Earthquake Cake
Presenting your Reese’s Peanut Butter Earthquake Cake can make your dessert even more delightful! Here are some ideas to elevate your serving game.
Garnishes
- Whipped coconut cream: A dollop of whipped coconut cream adds a light and airy contrast to the rich flavors of the cake.
- Chopped peanuts: Sprinkling chopped peanuts on top adds crunch and enhances the peanut flavor, making each bite even more satisfying.
Side Dishes
- Vanilla ice cream: The classic pairing! A scoop of vanilla ice cream brings a creamy contrast that melts beautifully into the warm cake.
- Fresh berries: Raspberries or strawberries offer a refreshing tartness that complements the richness of chocolate and peanut butter.
- Chocolate sauce drizzle: A simple drizzle of chocolate sauce takes indulgence to another level and visually enhances your dessert presentation.
- Fruit salad: A light fruit salad provides a refreshing palate cleanser between bites, balancing out the sweet decadence of the cake.
Enjoy your delicious creation with family and friends, and watch as they rave about this irresistible dessert!
Make Ahead and Storage
This Reese’s Peanut Butter Earthquake Cake is not only a delightful treat but also perfect for meal prep! You can easily make it ahead of time and enjoy it later, making it an excellent choice for gatherings or cozy nights in.
Storing Leftovers
- Allow the cake to cool completely before storing.
- Cover it with plastic wrap or aluminum foil to keep it fresh.
- Store in the refrigerator for up to 5 days.
Freezing
- Cut the cake into individual portions for easier thawing.
- Wrap each piece tightly in plastic wrap, then place them in a freezer-safe container.
- Freeze for up to 3 months.
Reheating
- To enjoy warm, remove the desired portion from the freezer and let it thaw in the refrigerator overnight.
- Reheat in the microwave for about 20-30 seconds or until warmed through.
- Serve with a scoop of your favorite non-dairy ice cream for an extra indulgent treat!
FAQs
Here are some common questions that may arise about this delicious recipe:
Can I use a different type of cake mix for Reese’s Peanut Butter Earthquake Cake?
Yes! While chocolate cake mix complements the peanut butter beautifully, you can experiment with any flavor you enjoy, such as vanilla or red velvet.
How should I store leftover Reese’s Peanut Butter Earthquake Cake?
Store any leftovers by covering them with plastic wrap or aluminum foil and placing them in the refrigerator. They will stay fresh for up to 5 days!
Can I make Reese’s Peanut Butter Earthquake Cake gluten-free?
Absolutely! Simply substitute the chocolate cake mix with a gluten-free blend that’s suitable for baking.
What can I use instead of cream cheese in this recipe?
You can use a dairy-free cream cheese alternative or even Greek yogurt if you’re looking for a lighter option.
Final Thoughts
This Reese’s Peanut Butter Earthquake Cake is truly something special—a delightful combination of rich chocolate and creamy peanut butter that will make your taste buds dance with joy! I hope you enjoy making this indulgent dessert as much as I do. It’s perfect for sharing with family and friends or savoring all by yourself. Happy baking!

Reese’s Peanut Butter Earthquake Cake
- Prep Time: 15 minutes
- Cook Time: 40 minutes
- Total Time: 55 minutes
- Yield: Approximately 12 servings 1x
- Category: Dessert
- Method: Baking
- Cuisine: American
Description
Indulge in the ultimate dessert treat with this Reese’s Peanut Butter Earthquake Cake! This decadent dessert combines a moist chocolate cake with a luscious, creamy peanut butter filling that creates delightful gooey layers. Each bite is packed with rich flavors and topped with chunks of popular peanut butter cups, making it a true crowd-pleaser. Perfect for any occasion, from family gatherings to cozy weeknights, this cake is sure to impress and satisfy your sweet tooth. Plus, it’s easy to prepare, allowing you to whip up this delightful treat in no time. Get ready to enjoy a slice of pure bliss!
Ingredients
- 1 box chocolate cake mix
- 1 cup water
- 1/2 cup vegetable oil
- 3 large eggs
- 1 cup creamy peanut butter
- 8 oz cream cheese, softened
- 1/2 cup unsalted butter, melted
- 4 cups powdered sugar
- 1 tsp vanilla extract
- 1 cup chopped Reese’s Peanut Butter Cups
Instructions
- Preheat your oven to 350°F (175°C) and grease a 9×13-inch baking dish.
- In a large bowl, combine the chocolate cake mix, water, vegetable oil, and eggs until smooth. Pour into the prepared dish.
- In another bowl, mix together the creamy peanut butter, softened cream cheese, melted butter, powdered sugar, and vanilla extract until well combined.
- Drop spoonfuls of the peanut butter mixture over the chocolate batter and gently swirl using a knife.
- Sprinkle chopped Reese’s Peanut Butter Cups on top.
- Bake for 35-40 minutes or until a toothpick comes out mostly clean.
- Cool slightly before serving.
Nutrition
- Serving Size: 1 slice (approximately 100g)
- Calories: 410
- Sugar: 45g
- Sodium: 320mg
- Fat: 21g
- Saturated Fat: 7g
- Unsaturated Fat: 12g
- Trans Fat: 0g
- Carbohydrates: 54g
- Fiber: 2g
- Protein: 6g
- Cholesterol: 50mg