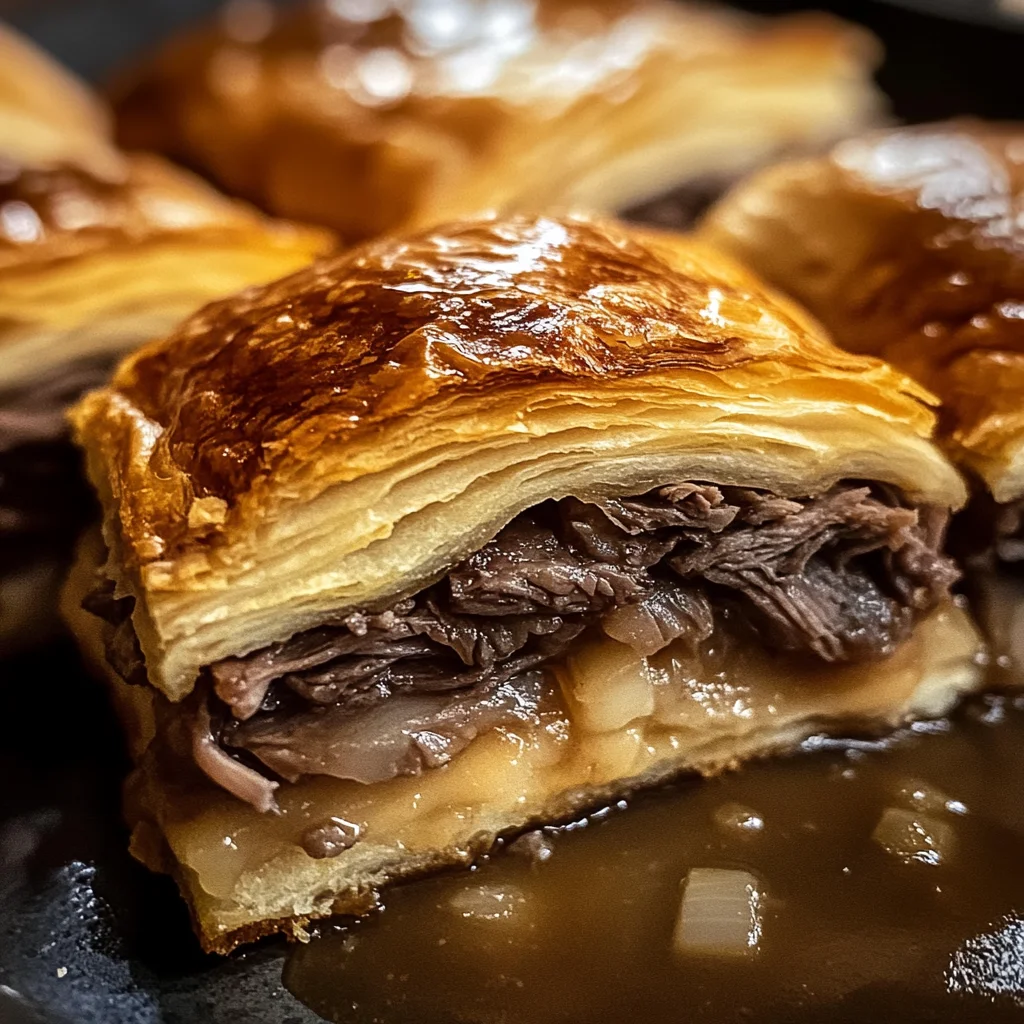
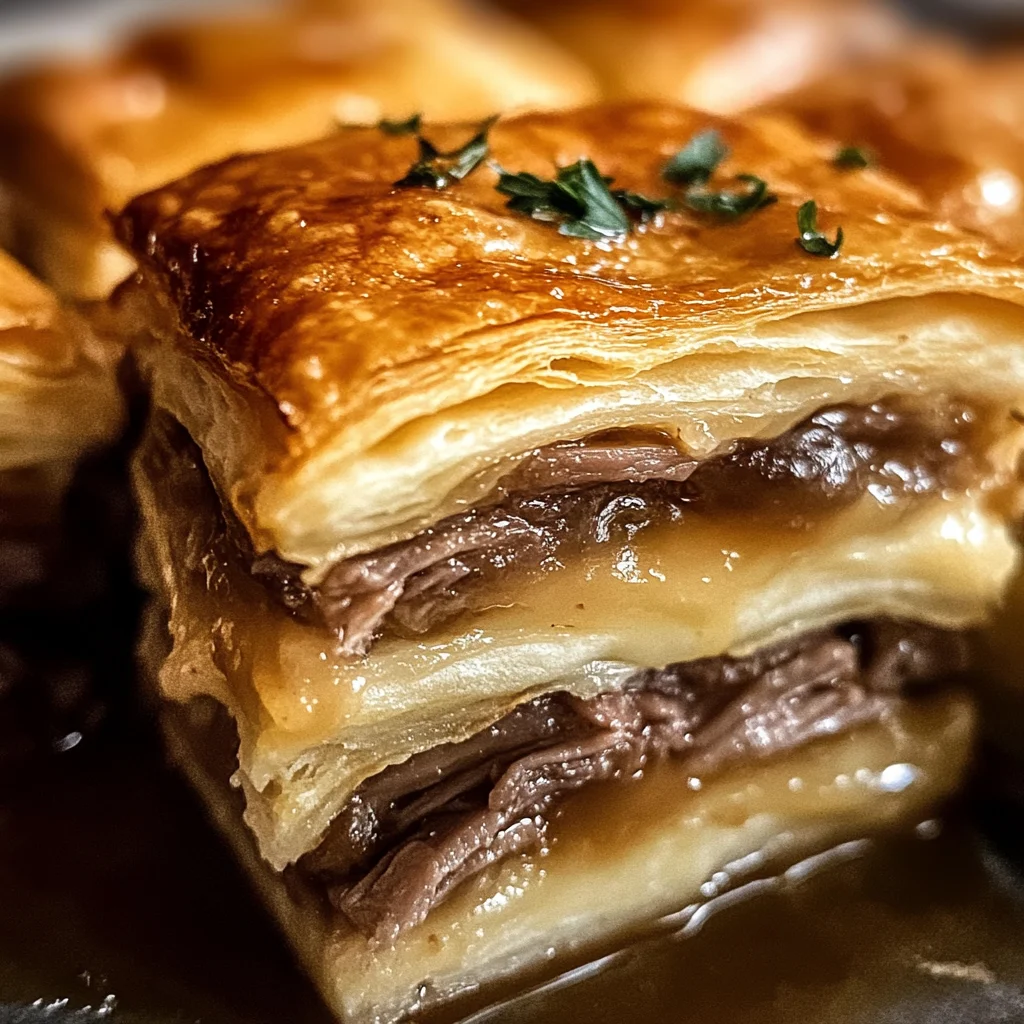
French Dip Squares
If you’re looking for a delicious and easy meal that everyone will love, then you need to try these French Dip Squares! They’re a delightful twist on the classic French Dip sandwich, making them perfect for family dinners, game days, or even casual gatherings with friends. The layers of buttery crescent roll dough, tender roast beef, and melty Swiss cheese come together to create a dish that is not only comforting but also so fun to share.
What I love most about this recipe is how quick it is to whip up. With just a handful of simple ingredients, you can create something truly special. Plus, the warm beef broth for dipping adds an extra layer of flavor that makes every bite irresistible. Trust me; once you make these French Dip Squares, they’ll become a go-to recipe in your home!
Why You’ll Love This Recipe
- Quick and Easy Prep: These squares come together in no time, making them perfect for busy weeknights or unexpected guests.
- Family-Friendly: Kids love finger foods! These squares are easy to eat and packed with flavors everyone will enjoy.
- Make-Ahead Friendly: You can prepare the filling in advance and assemble your squares right before baking for a stress-free dinner.
- Comfort Food Classic: With rich flavors and gooey cheese, this dish brings all the cozy vibes to your table.
- Fun for Sharing: Perfect for parties or gatherings; everyone can dip and enjoy!
Ingredients You’ll Need
Gathering the ingredients for these French Dip Squares is a breeze! You’ll find that they consist of simple, wholesome items that are likely already in your pantry or fridge. Here’s what you need:
For the Squares
- 2 cans of refrigerated crescent rolls
- 1/2 pound deli-sliced roast beef
- 1 cup grated Swiss cheese
For the Flavor Boost
- 1 packet dry onion soup mix
- 1/4 cup melted butter
- 1 teaspoon Worcestershire sauce
- 1/2 teaspoon garlic powder
For Dipping
- 1 cup beef broth (for dipping)
Variations
One of the best things about this recipe is its flexibility. You can easily customize it to suit your taste or dietary needs. Here are some fun ideas:
- Swap the protein: Use turkey or chicken slices instead of roast beef for a lighter option.
- Change the cheese: Try using provolone or mozzarella if Swiss isn’t your favorite.
- Add some veggies: Sautéed bell peppers or caramelized onions make great additions for extra flavor.
- Make it spicy: Add sliced jalapeños inside for a kick that spice lovers will appreciate.
How to Make French Dip Squares
Step 1: Preheat Your Oven
First things first—preheat your oven to 375°F (190°C). This step is crucial because starting with a hot oven ensures that your squares bake evenly and develop that golden-brown crust we all love.
Step 2: Layer the Base
Next, take one can of crescent rolls and roll it out in the bottom of a lightly greased 9×13 inch baking dish. Make sure to press any seams together so you have an even layer. This forms the perfect base for all those delicious fillings!
Step 3: Add the Filling
Now it’s time to layer on that heavenly filling! Start by evenly distributing your deli-sliced roast beef over the dough. Then sprinkle on the grated Swiss cheese. This combination creates incredible flavor and texture in every bite.
Step 4: Prepare the Sauce
In a small bowl, mix together the dry onion soup mix, melted butter, Worcestershire sauce, and garlic powder until well combined. Drizzle this savory mixture over your cheese layer—this is where all that wonderful flavor comes from!
Step 5: Top with Dough
Roll out the second can of crescent rolls and place it on top of everything else you’ve layered. Pinch those seams together to create a smooth surface; this helps keep all those delicious fillings tucked inside.
Step 6: Bake
Pop your dish into the preheated oven and bake for about 15-20 minutes until everything is golden brown and fully cooked. The aroma wafting through your kitchen will be hard to resist!
Step 7: Heat the Broth
While those lovely squares are baking away, warm up some beef broth in a small pot over medium heat. This will serve as your delightful dipping sauce when it’s time to dig in!
Step 8: Cool and Cut
Once baked, let your French Dip Squares cool slightly before cutting them into squares. This helps everything set nicely so you don’t lose any filling when serving.
Step 9: Serve
Finally, serve up those scrumptious squares alongside your warm beef broth for dipping. Trust me; they won’t last long on the table! Enjoy every delicious bite!
Pro Tips for Making French Dip Squares
Making French Dip Squares can be a breeze with a few simple tips to ensure your dish turns out perfectly every time!
-
Use high-quality roast beef: Choosing fresh, deli-sliced roast beef will enhance the flavor and tenderness of your squares, making each bite more satisfying.
-
Don’t skip the seam pressing: Pressing the seams of the crescent rolls together ensures a uniform base and top, preventing any filling from leaking out during baking.
-
Customize the cheese: While Swiss cheese is traditional, feel free to experiment with other cheeses like provolone or mozzarella for a different flavor profile that suits your taste.
-
Let them cool before cutting: Allowing the squares to cool slightly helps them set up. This makes cutting easier and gives you cleaner edges for presentation.
How to Serve French Dip Squares
Serving French Dip Squares is just as fun as making them! With the right touches, you can create an inviting meal that’s perfect for gatherings or family dinners.
Garnishes
- Fresh parsley: A sprinkle of chopped fresh parsley adds a pop of color and freshness that brightens up the dish.
- Sliced green onions: Chopped green onions provide a mild onion flavor and a crunchy texture, enhancing both presentation and taste.
Side Dishes
- Garden salad: A crisp garden salad with mixed greens, cherry tomatoes, and cucumbers provides a refreshing contrast to the rich flavors of the squares.
- Sweet potato fries: Crispy sweet potato fries bring a hint of sweetness that complements the savory notes in your dish while adding some extra crunch.
- Roasted vegetables: Seasonal roasted veggies such as zucchini, bell peppers, or carrots make for a colorful and nutritious side that pairs beautifully with the squares.
- Coleslaw: A tangy coleslaw offers a creamy texture and zesty flavor that balances out the richness of your French Dip Squares.
With these serving ideas and tips, you’ll be ready to impress your guests or enjoy a cozy meal at home!
Make Ahead and Storage
These French Dip Squares are perfect for meal prep, making them an excellent option for busy weeknights or entertaining guests. You can easily prepare them in advance and store them for later enjoyment.
Storing Leftovers
- Allow the squares to cool completely before storing.
- Place the cooled squares in an airtight container.
- Refrigerate for up to 3 days.
Freezing
- Cut the squares into individual servings before freezing.
- Wrap each square tightly in plastic wrap, then place them in a freezer-safe bag or container.
- Freeze for up to 2 months for best quality.
Reheating
- Thaw frozen squares in the refrigerator overnight before reheating.
- Preheat your oven to 350°F (175°C).
- Place the squares on a baking sheet and cover with foil to retain moisture.
- Bake for about 10-15 minutes, or until heated through.
FAQs
Here are some common questions you might have about making French Dip Squares.
Can I make French Dip Squares ahead of time?
Absolutely! You can prepare them the day before, store them in the fridge, and bake just before serving. This makes them a great option for gatherings!
What should I serve with French Dip Squares?
These squares pair wonderfully with a fresh salad, crispy potato chips, or even some roasted vegetables. The dipping broth is also a delicious addition!
Are French Dip Squares easy to customize?
Yes! You can switch out the cheese or add extra veggies to suit your taste preferences. Feel free to get creative!
How do I keep my French Dip Squares from getting soggy?
Make sure to bake them until golden brown, which helps create a barrier against moisture. Also, serve the broth on the side for dipping rather than drenching the squares.
Can I use different meats instead of roast beef?
Definitely! You can opt for turkey or your favorite deli meats as a tasty alternative while still enjoying those wonderful flavors.
Final Thoughts
I truly hope you enjoy making these delightful French Dip Squares as much as I do! They’re not just a dish; they’re a way to bring friends and family together around something warm and comforting. So gather your loved ones, dip into that savory broth, and savor each bite. Happy cooking!
French Dip Squares
- Prep Time: 15 minutes
- Cook Time: 20 minutes
- Total Time: 35 minutes
- Yield: Serves 8
- Category: Main
- Method: Baking
- Cuisine: American
Description
Indulge in the comforting, shareable goodness of French Dip Squares! This delightful twist on the classic sandwich features layers of flaky crescent roll dough filled with tender deli-sliced roast beef and gooey Swiss cheese. Served warm alongside a savory beef broth for dipping, these squares are perfect for family dinners, game days, or casual gatherings with friends. Quick to prepare and easily customizable, you’ll love how this dish brings everyone together around the table.
Ingredients
- 2 cans refrigerated crescent rolls
- 1/2 pound deli-sliced roast beef
- 1 cup grated Swiss cheese
- 1 packet dry onion soup mix
- 1/4 cup melted butter
- 1 teaspoon non-alcoholic Worcestershire sauce
- 1/2 teaspoon garlic powder
- 1 cup beef broth (for dipping)
Instructions
- Preheat your oven to 375°F (190°C).
- Roll out one can of crescent rolls into a lightly greased 9×13 inch baking dish, pressing seams together.
- Layer the roast beef evenly over the dough, followed by the grated Swiss cheese.
- In a small bowl, mix together the onion soup mix, melted butter, non-alcoholic Worcestershire sauce, and garlic powder; drizzle over the cheese layer.
- Roll out the second can of crescent rolls on top and pinch seams together.
- Bake for 15-20 minutes until golden brown.
- While baking, warm up the beef broth on medium heat for dipping.
- Allow to cool slightly before cutting into squares and serve with warm broth.
Nutrition
- Serving Size: 1 square (approx. 100g)
- Calories: 290
- Sugar: 2g
- Sodium: 670mg
- Fat: 18g
- Saturated Fat: 8g
- Unsaturated Fat: 10g
- Trans Fat: 0g
- Carbohydrates: 22g
- Fiber: 1g
- Protein: 10g
- Cholesterol: 35mg