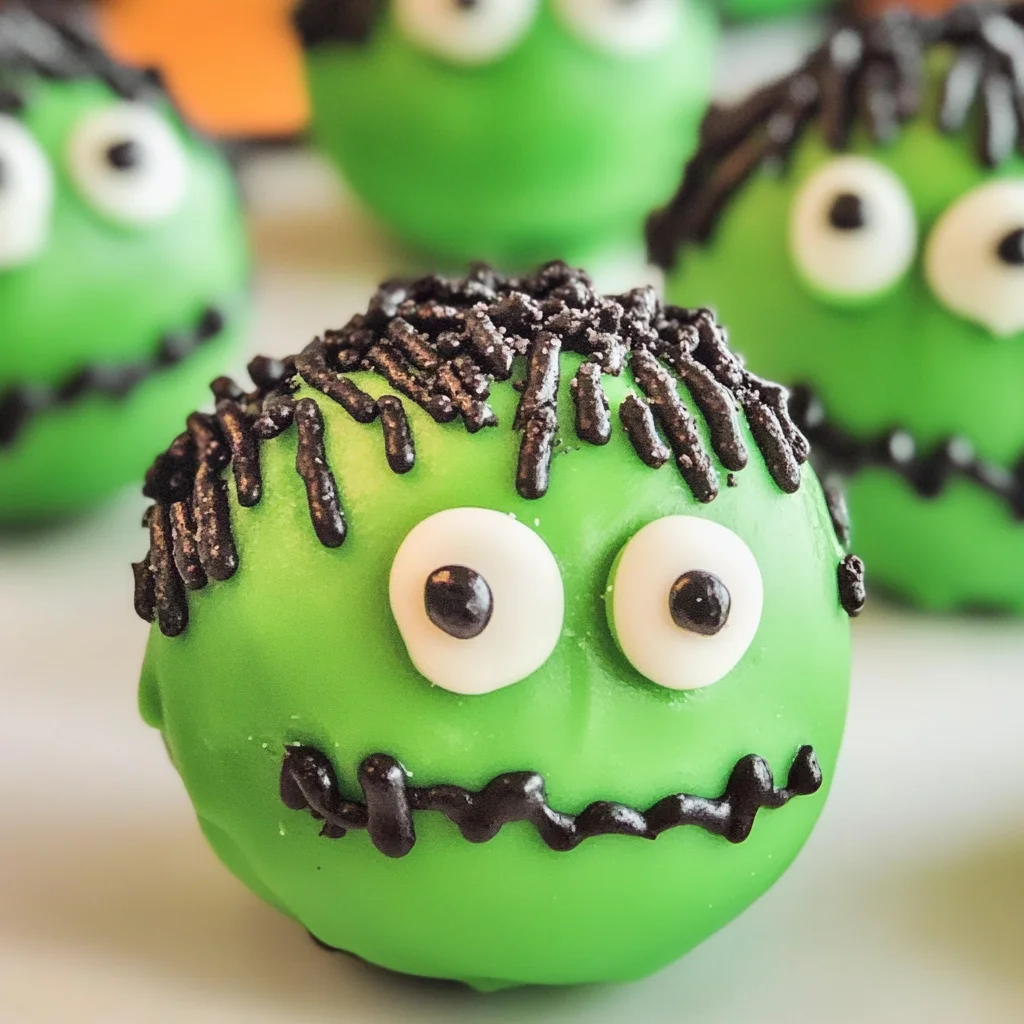
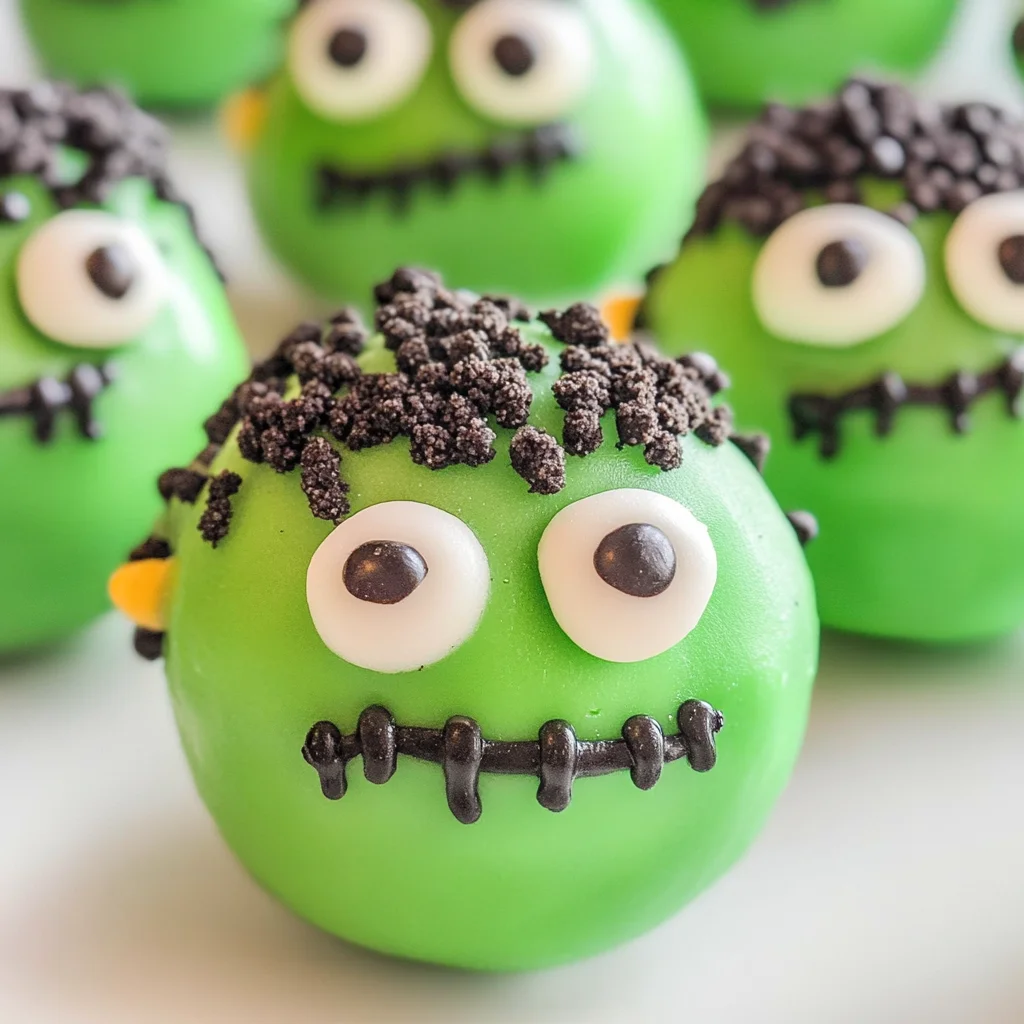
Frankenstein Oreo Balls
If you’re looking for a fun and festive treat to impress your friends and family this Halloween, you’ve found it! These Frankenstein Oreo Balls are not only adorable but also incredibly delicious. With their creamy filling and delightful chocolate coating, they’re sure to be a hit at any gathering. Plus, they’re super simple to make, which is a win in my book! Whether you’re hosting a spooky movie night or bringing a dish to a Halloween party, these little monsters are perfect for the occasion.
This recipe holds a special place in my heart because it combines nostalgia with creativity. Who doesn’t love Oreos? And when you transform them into cute little Frankensteins, it just brings the fun to another level. Let’s dive into this easy and delightful recipe that everyone will love!
Why You’ll Love This Recipe
- No baking required: These Frankenstein Oreo Balls are completely no-bake, making them quick and easy to whip up in no time.
- Perfect for kids: The fun shapes and decorations make these treats a hit with children—and they can even help with the decorating!
- Make ahead convenience: Prepare these in advance and store them in the fridge until you’re ready to serve. They stay fresh and delicious!
- Endless creativity: You can customize the designs to make them your own or create different characters—let your imagination run wild!
- Delicious flavor: With the rich taste of Oreos combined with cream cheese, every bite is a delightful treat.
Ingredients You’ll Need
For these Frankenstein Oreo Balls, we’ll be using simple and wholesome ingredients that you probably already have at home. Gather your supplies, and let’s get started on making these spooky snacks!
For the Oreo Filling:
- 36 Oreos (finely crushed)
- 8 oz cream cheese (softened at room temperature)
- 1 teaspoon vanilla extract
For Coating:
- 2 cups light green melting wafers
- ½ cup black or dark chocolate melting wafers
- 1-½ tablespoons crisco shortening
For Decoration:
- Black sprinkles (long not round)
- Pretzel sticks
- Small candy eyes
Variations
The great thing about these Frankenstein Oreo Balls is how flexible the recipe is! Here are some fun ideas to switch things up:
- Change the color: Use different colored melting wafers for various holidays or themes—think orange for Halloween or red for Valentine’s Day!
- Try flavored Oreos: Experiment with different flavors of Oreos like mint or peanut butter for an exciting twist.
- Skip the decoration: If you’re short on time, simply dip them in green chocolate without any embellishments—they’ll still taste amazing!
- Make mini versions: Use smaller cookie scoops to create bite-sized versions of these treats for an easy pop-in-your-mouth snack.
How to Make Frankenstein Oreo Balls
Step 1: Combine Ingredients
In a large mixing bowl, combine your finely crushed Oreos, softened cream cheese, and vanilla extract. Using an electric hand mixer or stand mixer, beat this mixture together for 1-2 minutes until fully combined. This step is crucial because it creates that delicious dough-like texture we want!
Step 2: Shape Your Balls
Using a 2-tablespoon cookie scoop, take some of your dough out of the bowl and roll it into smooth balls using your hands. Place each ball on a large cookie sheet lined with parchment paper. Now here’s where it gets fun—press down gently on each ball to flatten the top slightly, then flip it over and do the same on all sides until you form a square shape like Frankenstein’s head!
Step 3: Chill Out
Once all your Oreo balls are shaped, pop them in the refrigerator for about 2 hours. Chilling helps them firm up so they don’t lose their shape when dipped in chocolate!
Step 4: Melt Your Green Coating
While your balls chill, let’s prepare those vibrant green melting wafers! In a microwave-safe bowl, heat the wafers on 50% power or defrost mode for one minute. Stir well and add one tablespoon of crisco shortening. Continue heating in 30-second bursts until smooth—it should resemble dressing consistency.
Step 5: Dip Away!
Take your chilled Oreo bites from the refrigerator. Using two forks or dipping tools, dip each square completely into the melted green chocolate. Be sure to scrape off any excess chocolate by gently shaking it side-to-side before placing it back on the cookie sheet.
Step 6: Decorate Your Monsters
Now comes the fun part! Immediately dip one side into black sprinkles for hair. Add candy eyes right onto the front face of each bite—this is what makes them come alive! Then break pretzel sticks into about one-inch pieces and press two into each side—these will be Frankenstein’s bolts!
Step 7: Pipe On Some Personality
Repeat step four with the remaining black melting wafers mixed with crisco. Transfer this melted chocolate into a Ziploc bag ready for piping—just snip off a tiny corner! Now let your creative juices flow as you pipe smiles or frowns onto each monster.
Step 8: Final Chill
Allow your decorated Frankenstein Oreo Balls to chill again in the refrigerator for another 30 minutes before serving. This final chill ensures everything sets nicely so they hold their shape when enjoyed.
And there you have it! These Frankenstein Oreo Balls are ready to steal the show at your next Halloween gathering or cozy family night in! Enjoy every spooky bite!
Pro Tips for Making Frankenstein Oreo Balls
Creating these delightful Frankenstein Oreo Balls is a fun and rewarding experience! Here are some tips to ensure your spooky treats turn out perfectly.
-
Use Room Temperature Cream Cheese – Softened cream cheese blends more easily with the crushed Oreos, ensuring a smooth and well-combined mixture that holds together nicely.
-
Chill Thoroughly – Allowing the Oreo balls to chill for at least two hours firm up the mixture, making them easier to dip in the melting wafers without losing their shape.
-
Melt Chocolate Gradually – Heating your melting wafers in short bursts prevents overheating. Stirring frequently also helps achieve that silky-smooth consistency that coats beautifully.
-
Be Creative with Decorations – Don’t be shy about personalizing your Frankenstein faces! Try different expressions or add extra decorations like edible glitter or colored sugar for a unique twist.
-
Store Properly – Keep your finished Frankenstein Oreo Balls in an airtight container in the refrigerator. They can last up to a week, making them perfect for Halloween parties or gatherings!
How to Serve Frankenstein Oreo Balls
Serving your Frankenstein Oreo Balls can be as fun as making them! Whether it’s for a Halloween party, a school event, or just a spooky treat at home, there are plenty of ways to present these charming little monsters.
Garnishes
- Edible Glitter – Sprinkling some edible glitter on top adds a magical touch and makes them even more festive for Halloween.
- Colored Sprinkles – Use different colors of sprinkles to create various designs and patterns on Frankenstein’s body for added visual appeal.
Side Dishes
-
Pumpkin Spice Cupcakes – These moist cupcakes topped with cream cheese frosting complement the sweetness of the Oreo balls while adding a seasonal flavor.
-
Apple Slices with Caramel Dip – A healthy and crisp contrast to the rich dessert, apple slices provide a refreshing bite alongside sweet treats.
-
Ghostly Marshmallow Pops – Made from marshmallows dipped in white chocolate and decorated as ghosts, these pops are another festive treat that pairs perfectly with your spooky theme.
-
Cheesy Mummy Quesadillas – These fun quesadillas wrapped like mummies offer a savory option that balances out the sweetness of the dessert table.
Enjoy serving up these frightfully delicious Frankenstein Oreo Balls and watch them disappear faster than you can say Boo! Happy Halloween baking!
Make Ahead and Storage
These Frankenstein Oreo Balls are not only a hit at Halloween parties but also perfect for meal prep! You can make them ahead of time and store them properly to enjoy later.
Storing Leftovers
- Place any leftover Frankenstein Oreo Balls in an airtight container.
- Store in the refrigerator for up to one week.
- If layered, separate each layer with parchment paper to prevent sticking.
Freezing
- For longer storage, you can freeze the Oreo balls.
- Wrap each ball individually in plastic wrap.
- Place them in a freezer-safe bag or container. They can be frozen for up to three months.
Reheating
- There’s no need to reheat these treats! Simply remove from the fridge or freezer and allow to sit at room temperature for about 10-15 minutes before serving.
FAQs
Here are some common questions about making Frankenstein Oreo Balls.
Can I use different colors for the melting wafers?
Absolutely! While this recipe uses light green for Frankenstein’s skin, feel free to get creative with your color choices. Use orange for a pumpkin theme or purple for a spooky vibe!
How do I make sure my Frankenstein Oreo Balls look great?
To achieve that perfect look, ensure your melted chocolate is smooth and not too thick. Dipping and decorating while the chocolate is slightly warm helps sprinkles and candy eyes adhere better.
What are Frankenstein Oreo Balls made of?
Frankenstein Oreo Balls are made from crushed Oreos, cream cheese, vanilla extract, and coated with melting wafers. They’re then decorated with black sprinkles, pretzel sticks, and candy eyes to resemble the famous monster!
Can I prepare these Frankenstein Oreo Balls in advance?
Yes! These delicious treats can be made ahead of time and stored in the fridge or freezer for later enjoyment. Perfect for parties and gatherings!
Final Thoughts
I hope you find joy in making these delightful Frankenstein Oreo Balls! They’re not just a treat; they’re also a fun way to celebrate Halloween with family and friends. Enjoy the process of creating these cute monsters, and don’t forget to share them with your loved ones. Happy baking!

Frankenstein Oreo Balls
- Prep Time: 20 minutes
- Cook Time: 0 minutes
- Total Time: 20 minutes
- Yield: Approximately 24 servings 1x
- Category: Dessert
- Method: No-bake
- Cuisine: American
Description
Get ready to impress your guests with these delightful Frankenstein Oreo Balls this Halloween! These no-bake treats combine the iconic taste of Oreos with cream cheese and are coated in vibrant green chocolate. Not only are they incredibly easy to make, but they also offer endless opportunities for creativity in decorating. Perfect for parties, family gatherings, or a fun night in, these spooky snacks will be the highlight of any Halloween celebration. Let your imagination run wild as you create your own charming monsters that are sure to delight kids and adults alike!
Ingredients
- 36 Oreos (finely crushed)
- 8 oz cream cheese (softened)
- 1 teaspoon vanilla extract
- 2 cups light green melting wafers
- ½ cup black or dark chocolate melting wafers
- 1–½ tablespoons crisco shortening
- Black sprinkles (long)
- Pretzel sticks
- Small candy eyes
Instructions
- In a bowl, mix crushed Oreos, softened cream cheese, and vanilla until smooth.
- Roll mixture into balls using a cookie scoop; flatten slightly to form square shapes.
- Chill for 2 hours in the refrigerator.
- Melt green chocolate wafers with Crisco in short bursts until smooth.
- Dip each chilled square in melted green chocolate; let excess drip off.
- Decorate with black sprinkles for hair, candy eyes for faces, and pretzel sticks as bolts.
- Pipe black chocolate for added facial features if desired.
- Chill again for 30 minutes before serving.
Nutrition
- Serving Size: 1 Oreo Ball (30g)
- Calories: 130
- Sugar: 12g
- Sodium: 50mg
- Fat: 7g
- Saturated Fat: 4g
- Unsaturated Fat: 2g
- Trans Fat: 0g
- Carbohydrates: 15g
- Fiber: 1g
- Protein: 1g
- Cholesterol: 10mg