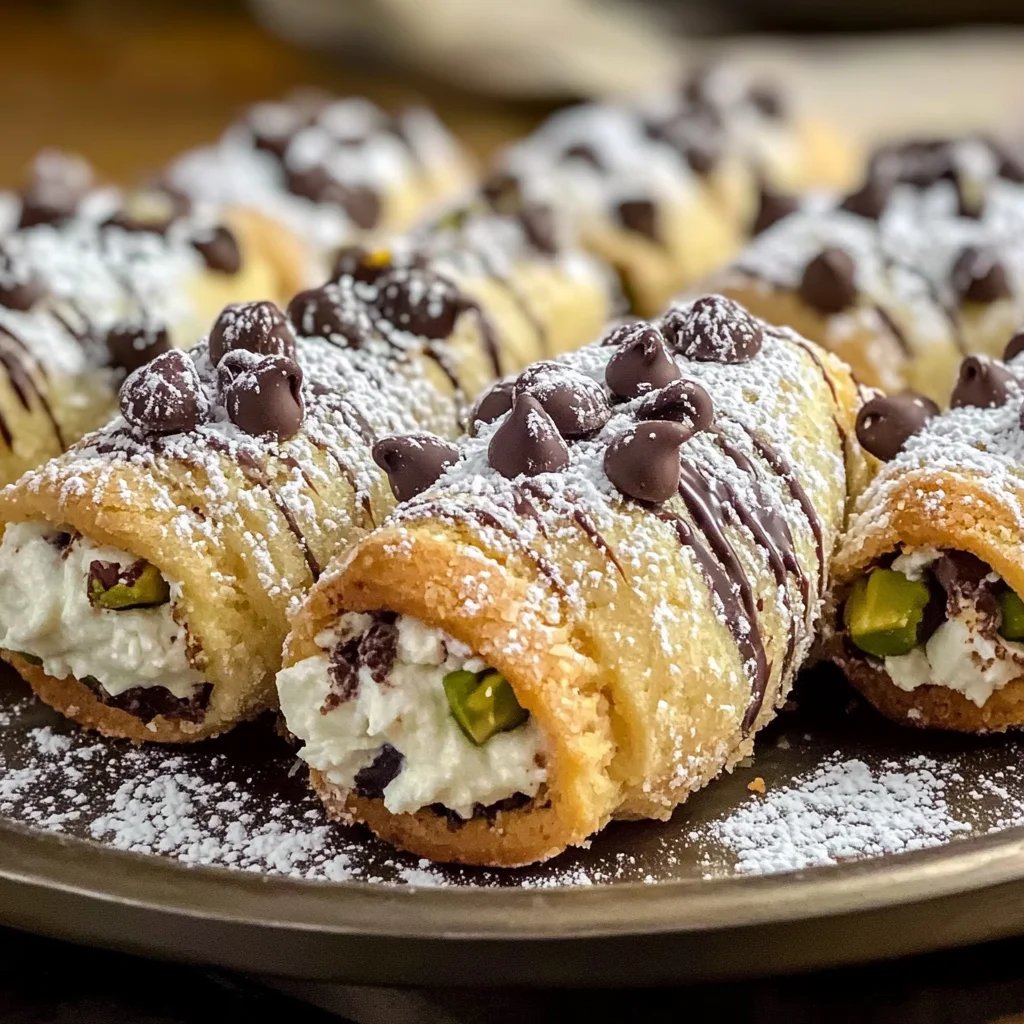
Cannoli Cookies
If you’re looking for a delightful treat that will impress your family and friends, look no further than these Cannoli Cookies! They combine the classic flavors of cannoli into a fun, bite-sized form that is perfect for any occasion. Whether you’re hosting a cozy gathering or just need a sweet pick-me-up after a long day, these cookies are sure to bring smiles all around. The creamy ricotta filling nestled in a buttery shell makes each bite absolutely irresistible.
What I love most about Cannoli Cookies is how simple they are to make. You can whip them up for busy weeknights or prepare them in advance for special events. Plus, they have a wonderful combination of textures and flavors that make them feel indulgent without being overly complicated.
Why You’ll Love This Recipe
- Easy to Prepare: With just a few simple steps, you can create these delicious cookies without any fuss.
- Family-Friendly: Kids and adults alike will adore the sweet filling and crunchy exterior—perfect for sharing!
- Make-Ahead Convenience: These cookies store well, so you can bake them in advance and enjoy them later.
- Versatile Treat: Ideal for holidays, parties, or just because—these cookies fit any occasion beautifully!
Ingredients You’ll Need
Gathering the right ingredients is part of the fun! This recipe calls for simple, wholesome items that you probably already have at home. Let’s take a look at what you’ll need to create these delightful Cannoli Cookies.
For the Cookie Dough
- 1 cup (240 ml) of all-purpose flour
- ½ cup (100 g) of granulated sugar
- 1 large egg
- 1 tsp of vanilla extract
- 1 tsp of lemon zest
For the Filling
- ½ cup (120 g) of ricotta cheese
- ½ cup (75 g) of mini chocolate chips
- ½ cup (75 g) of chopped pistachios
For Garnish
- Powdered sugar for dusting
Variations
One of the best parts about these Cannoli Cookies is their flexibility! Feel free to mix things up based on your taste preferences or what you have on hand.
- Swap the Cheese: For a different flavor profile, try using mascarpone instead of ricotta.
- Add Some Spice: A pinch of cinnamon in the filling can add warmth and depth.
- Change Up the Nuts: Substitute pistachios with walnuts or almonds for a new twist.
- Go Fruitful: Add some dried fruit like raisins or cranberries to the filling for added sweetness.
How to Make Cannoli Cookies
Step 1: Preheat Your Oven
Preheat your oven to 350°F (175°C). This step is essential as it ensures your cookies bake evenly and achieve that perfect golden brown color.
Step 2: Mix Dry Ingredients
In a large bowl, whisk together flour and sugar until well blended. This helps incorporate air into the mixture, resulting in lighter cookies.
Step 3: Combine Wet Ingredients
In another bowl, mix ricotta cheese, egg, vanilla extract, and lemon zest until smooth. This creamy mixture will be the heart of your cookies!
Step 4: Form the Dough
Gradually stir the flour mixture into the wet ingredients until a soft dough forms. It’s important not to overmix; you want those lovely textures to remain intact.
Step 5: Let It Rest
Cover the dough and let it rest for 30 minutes. Allowing it to rest helps develop flavor and makes it easier to roll out later.
Step 6: Prepare Baking Sheets
Line baking sheets with parchment paper. This prevents sticking and makes cleanup much easier!
Step 7: Roll Out Dough
Dust your work surface with flour and roll out the dough to about ¼ inch thick. Rolling it evenly ensures consistent baking results.
Step 8: Cut Shapes
Cut the dough into rectangles or squares, approximately 2×3 inches. These shapes provide enough space for filling while keeping them bite-sized.
Step 9: Prepare Filling
In a small bowl, mix ricotta cheese with mini chocolate chips and chopped pistachios. This filling is what brings everything together—so delicious!
Step 10: Fill & Seal Cookies
Place a spoonful of filling in the center of each rectangle and fold to seal. Make sure they are well sealed so that no filling escapes during baking.
Step 11: Bake Until Golden Brown
Bake for about 15-18 minutes until golden brown. Keep an eye on them; every oven is different!
Step 12: Cool Down
Let them cool on baking sheets for a few minutes before transferring to a wire rack. Cooling on racks allows air circulation around all sides, preventing sogginess.
And there you have it! Sweet Cannoli Cookies ready to be enjoyed by everyone you love!
Pro Tips for Making Cannoli Cookies
Making Cannoli Cookies can be a delightful experience, and with a few handy tips, you can elevate your baking game!
-
Use Fresh Ricotta: Fresh ricotta provides a creamier texture and richer flavor. Opt for high-quality ricotta for a truly indulgent filling.
-
Rest the Dough: Allowing the dough to rest for 30 minutes helps relax the gluten, making it easier to roll out and ensuring a tender cookie.
-
Don’t Overfill: When adding filling to each cookie, use just enough to avoid overflow. This ensures they bake evenly and maintain their shape.
-
Watch the Bake Time: Every oven is different! Keep an eye on your cookies as they bake; they should be golden brown but not too dark.
-
Experiment with Fillings: While chocolate chips and pistachios are classic choices, feel free to try dried fruits or other nuts. This keeps things exciting and allows for personal flair!
How to Serve Cannoli Cookies
These Cannoli Cookies not only taste heavenly but can also be presented beautifully. Here are some ideas to make your dessert table shine!
Garnishes
- Powdered Sugar Dusting: A light sprinkle of powdered sugar adds a touch of elegance and sweetness.
- Chocolate Drizzle: Melt some dairy-free chocolate and drizzle over the cookies for an extra layer of flavor and visual appeal.
- Chopped Nuts: Sprinkle additional chopped pistachios on top before serving for a nice crunch and vibrant color contrast.
Side Dishes
- Fresh Fruit Salad: A refreshing mix of seasonal fruits balances the richness of the cookies, providing a light contrast.
- Coffee or Tea: Serve your cookies alongside a cup of rich coffee or herbal tea. The warm beverage complements the sweet flavors perfectly.
- Ice Cream: A scoop of dairy-free vanilla or coconut ice cream offers a creamy side that pairs wonderfully with the crunchy texture of the cookies.
- Chocolate Fondue: For an interactive treat, set up a chocolate fondue station where guests can dip their Cannoli Cookies into melted chocolate—deliciously indulgent!
With these serving ideas and pro tips, you’re sure to impress your family and friends with your delightful Cannoli Cookies! Enjoy baking!
Make Ahead and Storage
These Cannoli Cookies are not only delightful but also perfect for meal prep! You can whip them up in advance and enjoy them throughout the week, making them an ideal treat for busy days.
Storing Leftovers
- Place any leftover cookies in an airtight container to keep them fresh.
- Store at room temperature for up to 3 days.
- For longer storage, consider refrigerating them.
Freezing
- Allow the baked cookies to cool completely before freezing.
- Place them in a single layer on a baking sheet and freeze until firm, about 1 hour.
- Transfer the cookies to a freezer-safe container or bag, separating layers with parchment paper. They will keep well for up to 2 months.
Reheating
- To enjoy warm cookies, preheat your oven to 350°F (175°C).
- Place the cookies on a baking sheet and heat for about 5-7 minutes until warmed through.
- Alternatively, you can microwave them for about 10-15 seconds, but be cautious not to overheat.
FAQs
Here are some common questions about Cannoli Cookies that might help you out!
Can I make Cannoli Cookies in advance?
Absolutely! These cookies store well, making them great for meal prep. Just follow the storage instructions provided above!
How do Cannoli Cookies differ from traditional cannoli?
Cannoli Cookies offer the same delightful flavors of traditional cannoli but in a convenient cookie form. They feature a creamy ricotta filling surrounded by a buttery shell.
Can I substitute ingredients in Cannoli Cookies?
Yes! You can experiment with different fillings like mascarpone or even fruit preserves. Just ensure any substitutes align with your dietary preferences.
How long do Cannoli Cookies last?
When stored properly, these cookies can last up to 3 days at room temperature or up to 2 months if frozen.
Are Cannoli Cookies suitable for special diets?
While this recipe contains dairy through ricotta cheese, it can be modified further based on your dietary needs. Consider using dairy-free ricotta alternatives if needed.
Final Thoughts
I hope you find joy in making these scrumptious Cannoli Cookies! Their unique blend of crispy exterior and creamy filling is sure to delight your taste buds and those you share them with. Whether you’re serving them at gatherings or keeping them all to yourself, they are bound to bring smiles all around. Happy baking, and enjoy every delicious bite!

Cannoli Cookies
- Prep Time: 20 minutes
- Cook Time: 18 minutes
- Total Time: 38 minutes
- Yield: Approximately 12 cookies 1x
- Category: Dessert
- Method: Baking
- Cuisine: Italian
Description
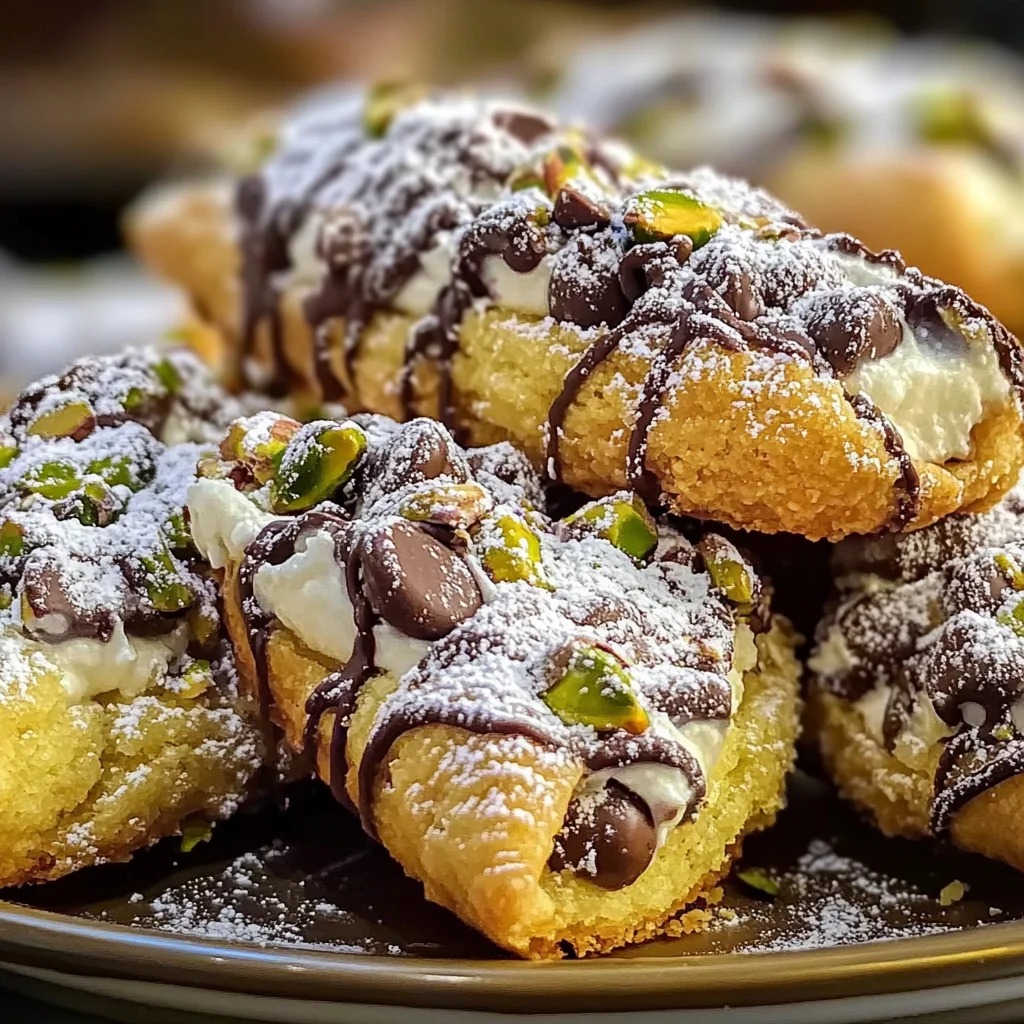
Delight your loved ones with these scrumptious Cannoli Cookies, a fun twist on the classic Italian dessert! Each cookie features a creamy ricotta filling packed with mini chocolate chips and crunchy pistachios, all nestled within a buttery, golden shell. Perfect for gatherings or as a sweet treat after a long day, these cookies are simple to make and sure to impress. With their delightful combination of textures and flavors, they offer a satisfying indulgence that feels special without the complexity. Bake up a batch and watch smiles appear as friends and family savor each delicious bite!
Ingredients
- 1 cup all-purpose flour
- ½ cup granulated sugar
- 1 large egg
- 1 tsp vanilla extract
- 1 tsp lemon zest
- ½ cup ricotta cheese
- ½ cup mini chocolate chips
- ½ cup chopped pistachios
- Powdered sugar for dusting
Instructions
- Preheat your oven to 350°F (175°C).
- In a bowl, whisk together flour and sugar.
- In another bowl, combine ricotta cheese, egg, vanilla extract, and lemon zest until smooth.
- Gradually mix the dry ingredients into the wet until a soft dough forms.
- Allow the dough to rest for 30 minutes.
- Roll out the dough to about ¼ inch thick on a floured surface.
- Cut into rectangles (2×3 inches).
- Prepare the filling by mixing ricotta cheese with mini chocolate chips and chopped pistachios.
- Place filling in the center of each rectangle and fold to seal.
- Bake for 15-18 minutes until golden brown.
- Cool on wire racks before serving.
Nutrition
- Serving Size: 1 cookie
- Calories: 150
- Sugar: 7g
- Sodium: 50mg
- Fat: 7g
- Saturated Fat: 3g
- Unsaturated Fat: 4g
- Trans Fat: 0g
- Carbohydrates: 19g
- Fiber: <1g
- Protein: 3g
- Cholesterol: 20mg