Butterfinger Balls Recipe: A Quick and Easy Delight
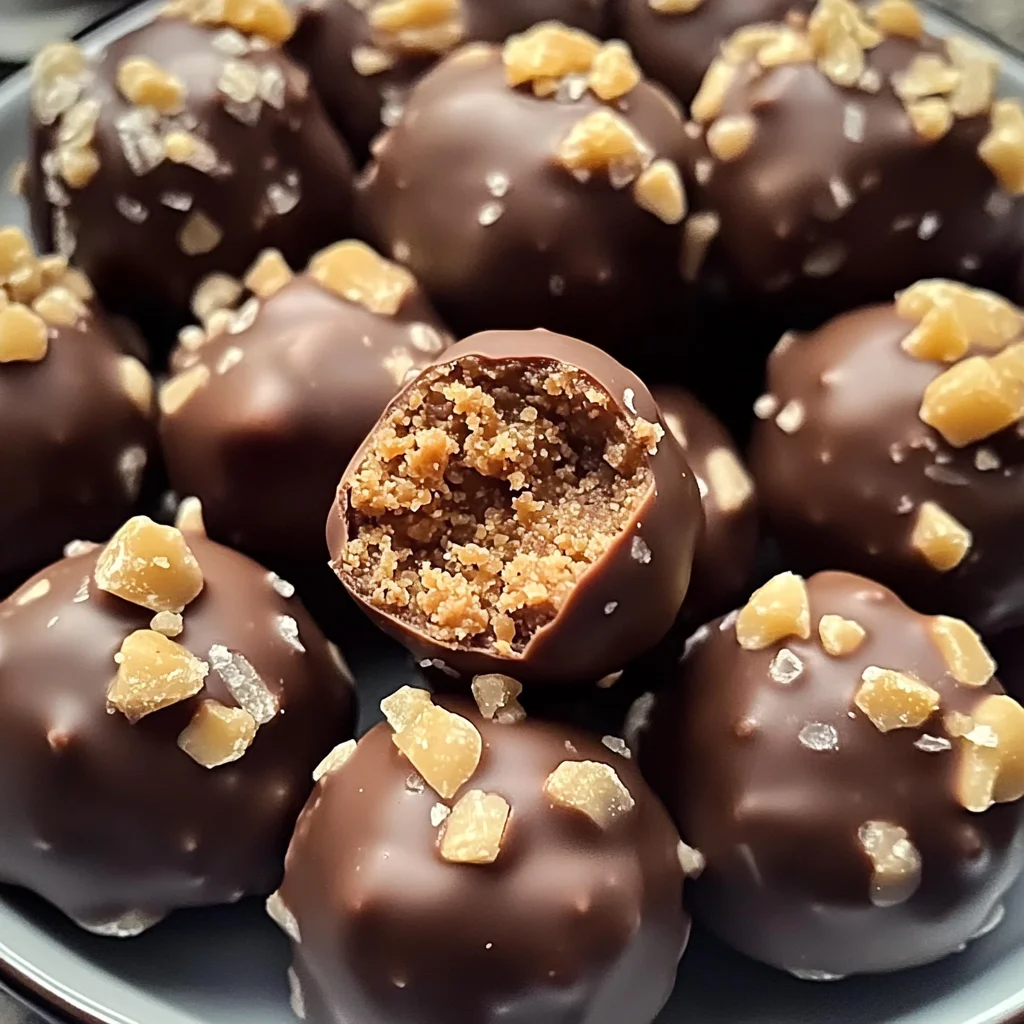
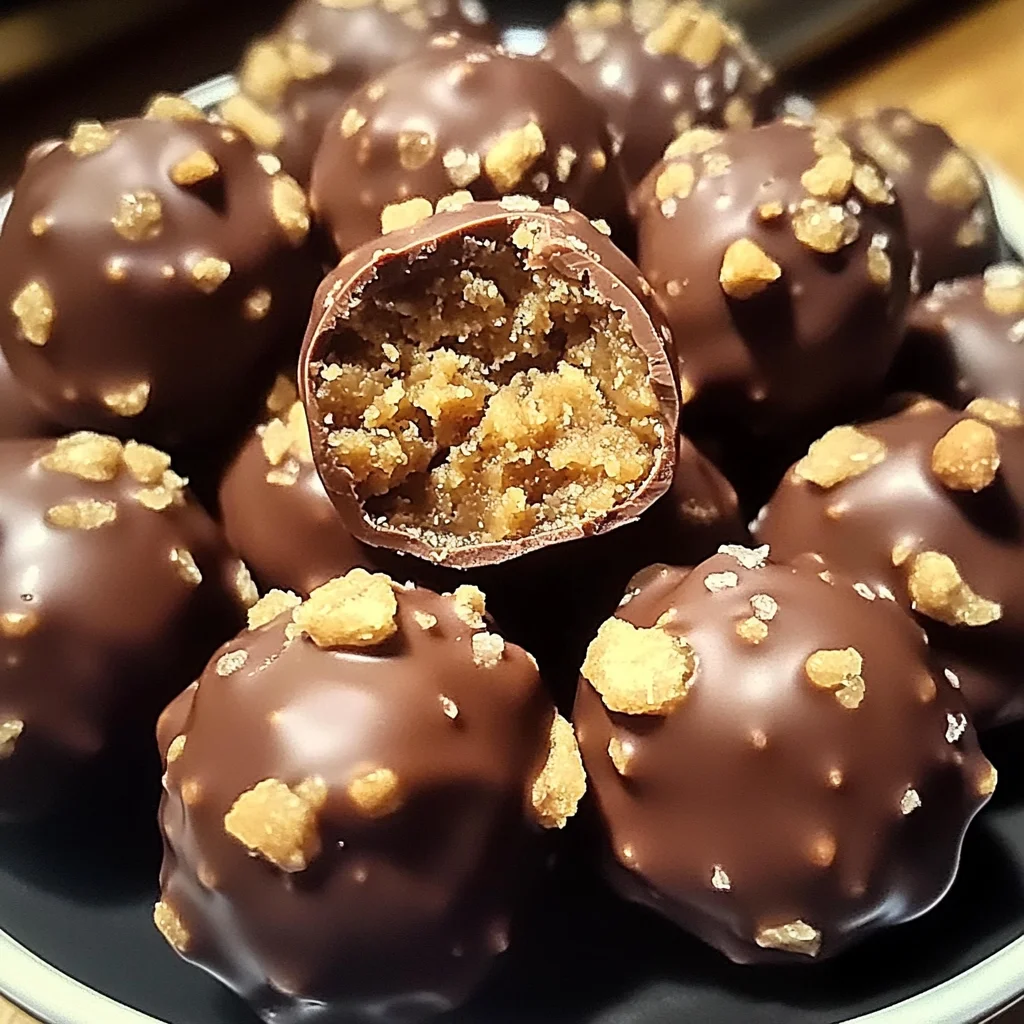
If you’re looking for a sweet treat that brings smiles and joy to any gathering, you’ve found it! This Butterfinger Balls Recipe: A Quick and Easy Delight is one of my go-to recipes for parties, family movie nights, or just a cozy afternoon snack. These little bites of heaven blend creamy peanut butter with the crunch of Butterfinger bars, all enveloped in a luscious chocolate coating. Whether you’re whipping them up for a holiday celebration or simply indulging yourself on a busy weeknight, they are sure to impress!
What makes this recipe special is its simplicity. You won’t need to spend hours in the kitchen; in just over 50 minutes, you can have these delightful treats ready to enjoy! Plus, they are perfect for sharing, making them a hit at any event.
Why You’ll Love This Recipe
- Quick to Make: With just 25 minutes of prep time and no baking involved, you can whip these up in a flash.
- Family-Friendly: Kids love getting involved in rolling the balls and decorating them with sprinkles—fun for everyone!
- Make-Ahead Magic: Prepare these ahead of time and store them in the fridge. They keep well for up to a week!
- Deliciously Decadent: The combination of peanut butter and chocolate with that iconic Butterfinger crunch makes every bite irresistible.
- Customizable Toppings: Get creative with festive sprinkles or extra crushed candy for a personal touch.
Ingredients You’ll Need
Let’s gather our simple and wholesome ingredients! This recipe calls for items you might already have at home or can easily find at your local grocery store. Here’s what you’ll need:
For the Base
- 4 tablespoons unsalted butter, softened
- 1 teaspoon vanilla extract
- 1 cup peanut butter (not all-natural; no oil separation)
- 1 cup powdered sugar
- ¾ cup grachicken chicken ham cracker crumbs
- ½ cup crushed Butterfinger bars
For Coating
- 8 ounces chocolate bark or chocolate chips (for coating)
Optional Toppings
- Extra crushed Butterfinger bars
- Festive sprinkles
- Coarse sea salt
Variations
One of the best things about this Butterfinger Balls recipe is how flexible it is! Here are some fun ideas to mix things up:
- Try Different Nut Butters: Swap out peanut butter for almond or cashew butter if you’re feeling adventurous.
- Add Flavoring: Mix in a pinch of cinnamon or a splash of almond extract for an extra flavor kick.
- Go Dark Chocolate: Use dark chocolate instead of milk chocolate for a richer taste.
- Make It Nut-Free: Replace peanut butter with sun butter or any other nut-free spread if allergies are a concern.
How to Make Butterfinger Balls Recipe: A Quick and Easy Delight
Step 1: Mix the Base
In a large bowl, use either a hand mixer or stand mixer to cream together the peanut butter and softened butter until it’s nice and smooth. This step is important because it helps create that creamy texture we all love. Once combined, add in the vanilla extract and mix until everything is fully incorporated.
Step 2: Add Sweetness and Crunch
Gradually mix in the powdered sugar at low speed. This will prevent any sugar clouds from forming! Don’t forget to scrape down the sides of the bowl as needed. Then, fold in the grachicken chicken ham cracker crumbs and crushed Butterfinger bars until everything is evenly combined. This mixture will give our balls that delightful crunch!
Step 3: Form the Balls
Line a baking sheet with parchment paper so our treats don’t stick later. Scoop about 1 to 1½ tablespoons of the mixture and roll it into balls using your hands. Place them spaced apart on the sheet—this will help them stay separate when they freeze.
Step 4: Chill to Set
Pop those balls into the freezer for about 30 minutes or until they are completely firm. Chilling is crucial here; it helps them hold their shape when we coat them in chocolate.
Step 5: Melt the Chocolate
In a microwave-safe bowl, melt your chocolate bark or chips at half power in 30-second intervals. Stir between each interval until smooth. Be careful not to overheat your chocolate; we want it perfectly melted without burning!
Step 6: Dip and Decorate
Once your balls are chilled, dip each one into the melted chocolate—either fully or halfway—depending on how decadent you want them. Immediately sprinkle with extra crushed Butterfingers, sea salt, or festive decorations before the chocolate sets!
Step 7: Let Them Set
Allow your beautiful creations to harden at room temperature or pop them back into the fridge until firm. Store any leftovers (if there are any!) in an airtight container in the fridge for up to one week.
And there you have it—a delightful batch of Butterfinger Balls that are sure to brighten anyone’s day! Enjoy every bite!
Pro Tips for Making Butterfinger Balls Recipe: A Quick and Easy Delight
Making these delightful treats can be a breeze with a few handy tips. Here’s how to ensure your Butterfinger Balls turn out perfect every single time!
-
Use Room Temperature Ingredients: Make sure your butter and peanut butter are at room temperature. This helps them blend more smoothly, resulting in a creamier texture.
-
Keep Your Hands Cool: When rolling the mixture into balls, slightly dampen your hands with water. This prevents the mixture from sticking and makes forming the balls much easier.
-
Don’t Skip the Chill Time: Freezing the balls before coating them in chocolate is crucial. It helps them maintain their shape during dipping and ensures a nice, even chocolate coating.
-
Experiment with Toppings: Feel free to get creative with your toppings! Using different crushed candies or sprinkles can add a personal touch and make these treats visually appealing.
-
Store Properly: To keep your Butterfinger Balls fresh, store them in an airtight container in the fridge. This not only preserves their flavor but also keeps them firm for a longer period.
How to Serve Butterfinger Balls Recipe: A Quick and Easy Delight
These Butterfinger Balls are not just delicious; they also make for an eye-catching treat at any gathering! Here are some fun ideas on how to present them beautifully.
Garnishes
- Chocolate Drizzle: Add a drizzle of melted chocolate over the top for an elegant finish that enhances their sweetness.
- Chopped Nuts: Sprinkle some finely chopped peanuts or almonds on top for added crunch and flavor contrast.
- Colorful Sprinkles: Use festive sprinkles to make these treats pop, especially for parties or holiday celebrations.
Side Dishes
- Fruit Platter: A refreshing fruit platter filled with seasonal fruits balances out the sweetness of the Butterfinger Balls beautifully. Try including strawberries, grapes, and orange slices.
- Cheese Board: Pair these sweet treats with a cheese board featuring creamy cheeses like brie or goat cheese. The savory flavors create a lovely contrast.
- Chocolate Fondue: Serve alongside a warm chocolate fondue pot for dipping fruits or pretzels. It adds an interactive element to your dessert table!
- Coffee or Hot Chocolate: These sweet bites pair wonderfully with a cup of coffee or hot chocolate, making them a perfect companion for cozy nights in.
With these tips and serving suggestions, you’re all set to impress your family and friends with your delicious Butterfinger Balls! Enjoy creating this delightful snack that’s sure to bring smiles all around.
Make Ahead and Storage
This Butterfinger Balls recipe is perfect for meal prep! You can whip up a batch in advance, making them a great option for parties, snacks, or sweet treats throughout the week.
Storing Leftovers
- Store the Butterfinger balls in an airtight container.
- Keep them refrigerated for up to 1 week.
- If you notice any condensation on the inside of your container, dry it off to prevent sogginess.
Freezing
- Place the cooled Butterfinger balls on a baking sheet in a single layer.
- Freeze until solid, then transfer them to an airtight container or freezer bag.
- They can be frozen for up to 3 months—perfect for future cravings!
Reheating
- There’s no need to reheat these treats; they’re best enjoyed chilled straight from the fridge!
- If desired, let them sit at room temperature for a few minutes before serving.
FAQs
Got questions? I’ve got answers! Here are some common queries about this delightful recipe.
Can I make this Butterfinger Balls Recipe: A Quick and Easy Delight ahead of time?
Absolutely! These delicious treats can be made in advance. Just follow the storage instructions above to keep them fresh and ready to enjoy whenever you like.
What can I use instead of chocolate bark for coating?
If you prefer, you can use dairy-free chocolate chips or melting wafers as an alternative to chocolate bark. They work just as well and will give you that perfect coating.
How do I crush Butterfinger bars easily?
A quick way to crush Butterfinger bars is by placing them in a zip-top bag and using a rolling pin or mallet to break them into pieces. Alternatively, you can pulse them briefly in a food processor for a finer crumb.
Can I substitute peanut butter with another nut butter?
Yes! Feel free to use almond butter or cashew butter if you want to switch things up. Just ensure they’re smooth and creamy so they mix well with the other ingredients.
How many servings does this recipe yield?
This Butterfinger Balls Recipe: A Quick and Easy Delight makes about 24 balls, perfect for sharing or enjoying throughout the week!
Final Thoughts
I hope you’re as excited about making these Butterfinger balls as I am! They’re such a fun and easy treat that brings back sweet memories while satisfying your cravings. Enjoy every bite, and don’t hesitate to get creative with your toppings! Happy cooking!
Butterfinger Balls Recipe: A Quick and Easy Delight
- Prep Time: 25 minutes
- Cook Time: 0 minutes
- Total Time: 25 minutes
- Yield: Approximately 24 servings 1x
- Category: Dessert
- Method: No-Bake
- Cuisine: American
Description
Indulge in the delightful world of homemade treats with this Butterfinger Balls Recipe: A Quick and Easy Delight. These irresistible no-bake snacks combine creamy peanut butter, crunchy Butterfinger bars, and a smooth chocolate coating to create a dessert that will excite your taste buds and impress your guests. Perfect for parties, family movie nights, or as a sweet afternoon pick-me-up, these treats are not only simple to prepare but also fun for the whole family to make together. In just about 50 minutes, you can whip up a batch of these delicious bites that are sure to bring smiles all around. Get ready for a sweet adventure!
Ingredients
- 4 tablespoons unsalted butter, softened
- 1 teaspoon vanilla extract
- 1 cup peanut butter (creamy)
- 1 cup powdered sugar
- ¾ cup graham cracker crumbs
- ½ cup crushed Butterfinger bars
- 8 ounces chocolate bark or chocolate chips (for coating)
Instructions
- In a large bowl, cream together peanut butter and softened butter until smooth. Mix in vanilla extract.
- Gradually add powdered sugar while mixing at low speed. Fold in graham cracker crumbs and crushed Butterfinger bars.
- Roll mixture into balls (1 to 1½ tablespoons each) and place on a parchment-lined baking sheet.
- Freeze for about 30 minutes until firm.
- Melt chocolate bark or chips in intervals until smooth.
- Dip chilled balls into melted chocolate and sprinkle with additional crushed Butterfingers or toppings of your choice.
- Allow coated balls to set at room temperature or refrigerate until firm.
Nutrition
- Serving Size: 1 serving
- Calories: 140
- Sugar: 9g
- Sodium: 50mg
- Fat: 8g
- Saturated Fat: 3g
- Unsaturated Fat: 5g
- Trans Fat: 0g
- Carbohydrates: 15g
- Fiber: 1g
- Protein: 3g
- Cholesterol: 10mg