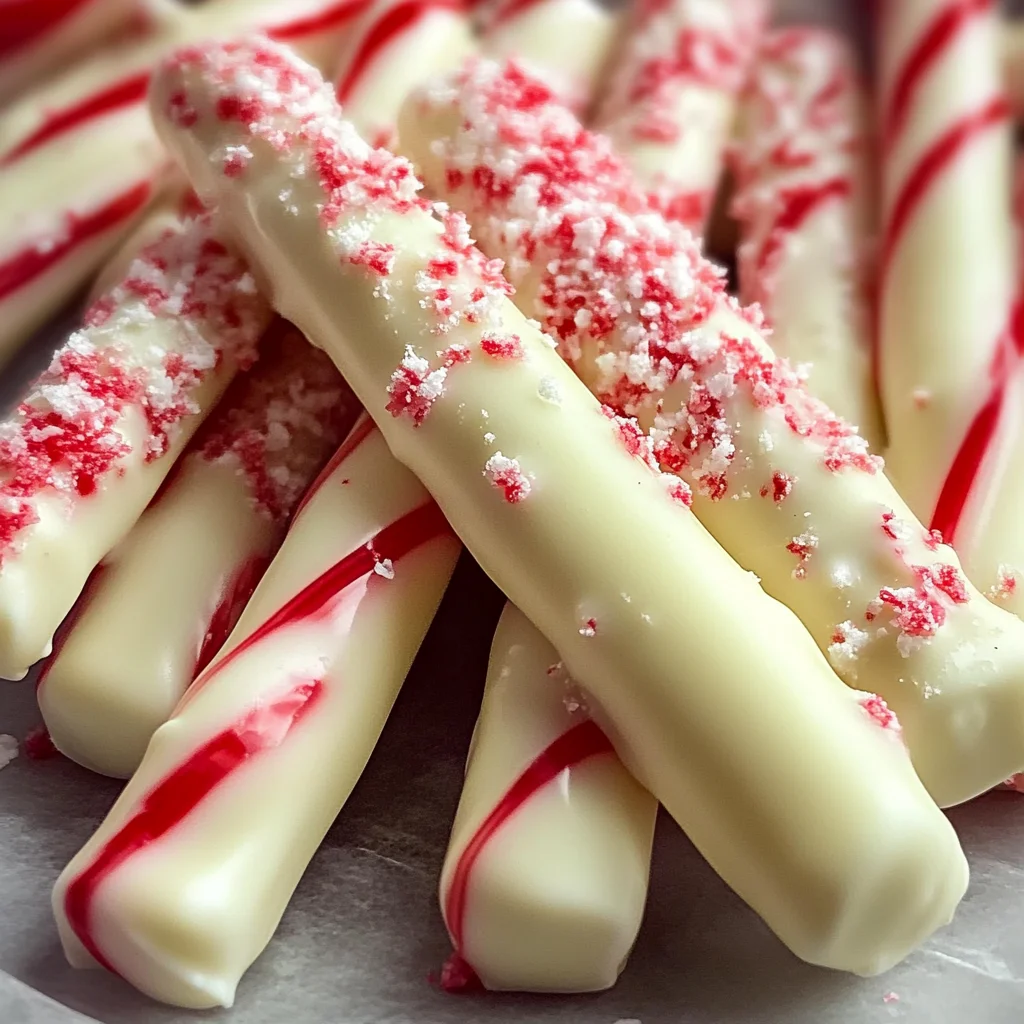
Homemade Christmas Peppermint Sticks
If you’re looking for a festive treat that will bring smiles to your family and friends, look no further than these Homemade Christmas Peppermint Sticks! This recipe is not only easy to whip up, but it also brings the classic flavors of peppermint and chocolate together in a delightful way. Whether you’re hosting a holiday gathering or just want a sweet snack after dinner, these peppermint sticks are sure to make the season merry and bright.
What I love most about this recipe is how simple it is. With just a few ingredients, you can create a beautiful homemade candy that feels special. Plus, they make fantastic gifts or party favors! The best part? You can enjoy making them with your kids; it’s an excellent way to spend time together during the holidays.
Why You’ll Love This Recipe
- Quick Preparation: You can have these festive treats ready in just 70 minutes, making them perfect for busy days.
- Family-Friendly Fun: Kids love helping out in the kitchen, especially when it comes to smashing candy canes!
- Make-Ahead Convenience: These peppermint sticks store well, so you can prepare them ahead of time for gatherings.
- Delicious Flavor: The combination of white chocolate and peppermint creates a delightful taste that everyone will adore.
Ingredients You’ll Need
These are simple, wholesome ingredients that come together beautifully. Let’s take a look at what you’ll need to create your Homemade Christmas Peppermint Sticks!
Main Ingredients
- 1 package of candy canes (12 pieces)
- 12 ounces of white chocolate
- 1 teaspoon peppermint essence
Servings: 4
Prep Time: 10 minutes
Cook Time: 10 minutes
Total Time: 70 minutes
Variations
What’s great about this recipe is its flexibility! Feel free to get creative and adjust the flavors according to your preferences. Here are some fun variations you might like:
- Add some color: Use colored candy melts instead of white chocolate for a festive twist!
- Sprinkle toppings: Try adding crushed nuts or sprinkles on top before the chocolate sets for extra texture.
- Change the essence: Experiment with different flavored essences like vanilla or almond for a unique flavor profile.
- Make it extra crunchy: Mix in some finely crushed cookies along with the candy cane bits for added crunch.
How to Make Homemade Christmas Peppermint Sticks
Step 1: Crush the Candy Canes
Start by unwrapping your candy canes and placing them in a zip-top bag. Using a rolling pin or something similar, gently crush them into small pieces. This step is important because the crushed candy adds that delightful peppermint crunch to your sticks!
Step 2: Melt the White Chocolate
Next, chop your white chocolate into smaller pieces and melt it in a microwave-safe bowl. Heat it in short bursts of about 15 seconds, stirring between each burst until smooth. Melting the chocolate carefully ensures it doesn’t burn and keeps it creamy and delicious.
Step 3: Mix in Peppermint Essence
Once your white chocolate is melted and smooth, stir in the peppermint essence. This not only intensifies the flavor but also makes those peppermint sticks really sing with holiday cheer!
Step 4: Combine & Shape
Now it’s time to add those crushed candy canes into the melted white chocolate mixture. Stir until everything is well combined. Pour this mixture onto a baking sheet lined with parchment paper and spread it out evenly. This step allows your peppermint sticks to set nicely without sticking.
Step 5: Chill & Cut
Place the baking sheet in the refrigerator for about an hour until firm. Once set, remove from the refrigerator and cut into strips. Don’t worry if they’re not perfect; each piece will be unique and charming!
Enjoy making these Homemade Christmas Peppermint Sticks! They are sure to spread joy during this wonderful season.
Pro Tips for Making Homemade Christmas Peppermint Sticks
Making your own peppermint sticks is not only fun but also a wonderful way to spread holiday cheer. Here are some tips to ensure your sweet treats turn out perfectly!
-
Use high-quality chocolate: The taste of your peppermint sticks will largely depend on the chocolate you choose. Opt for good quality white chocolate that melts smoothly for a delicious finish.
-
Chill the sticks properly: After dipping the candy canes in melted chocolate, make sure to place them in the refrigerator until the chocolate hardens. This step helps achieve a nice, firm coating that won’t melt away too quickly.
-
Experiment with flavors: While peppermint essence is classic, feel free to try other flavorings like vanilla or almond extract for a unique twist that adds depth to your treats.
-
Add festive sprinkles: Before the chocolate sets, sprinkle some colorful edible glitter or crushed candy canes on top. It not only makes them eye-catching but also adds an extra crunch and festive flair.
-
Store properly: To keep your homemade peppermint sticks fresh, store them in an airtight container at room temperature. If you live in a warm climate, consider refrigerating them to prevent melting.
How to Serve Homemade Christmas Peppermint Sticks
Presentation is key when it comes to holiday treats! You can serve these delightful peppermint sticks in various ways that will wow your family and friends.
Garnishes
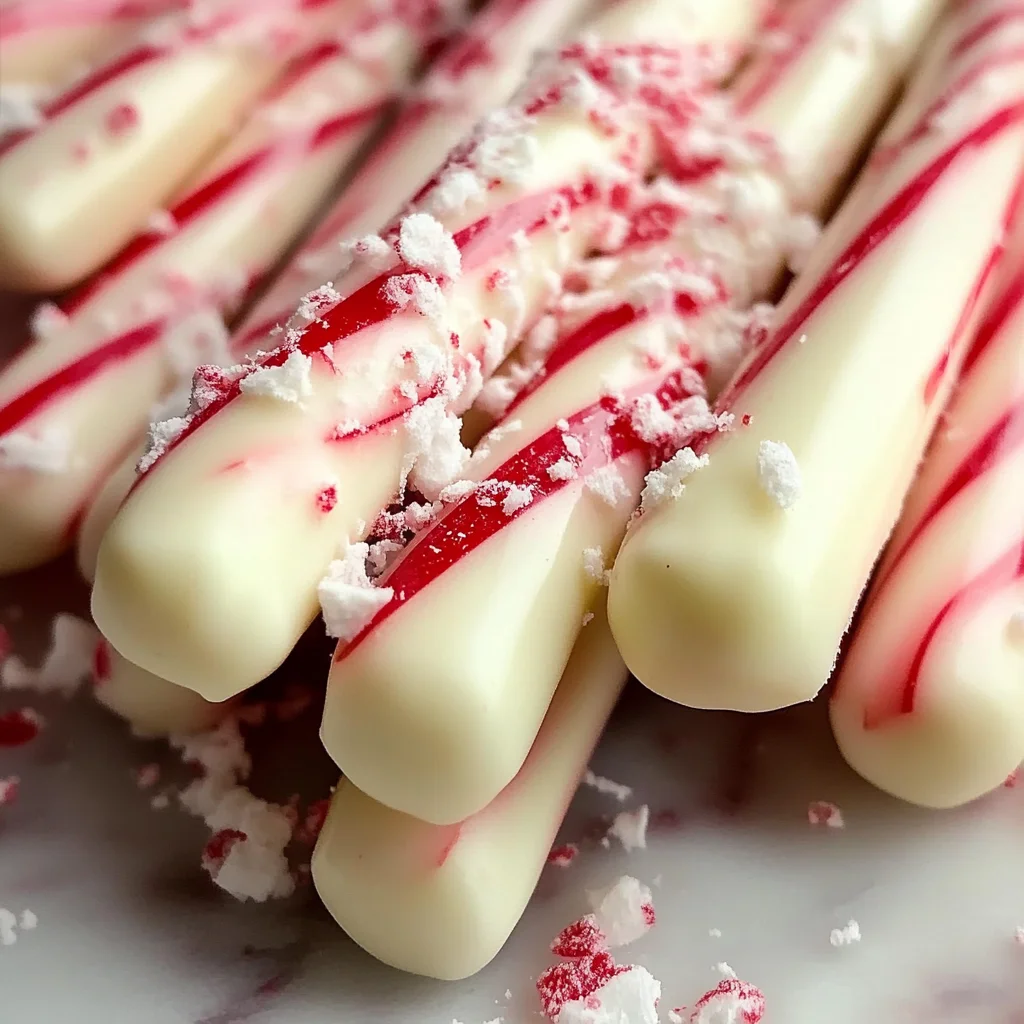
- Crushed candy canes: Sprinkle some crushed candy canes on top of the chocolate while it’s still warm for an extra layer of minty flavor and crunch.
- Edible glitter: For a touch of sparkle, lightly dust edible glitter over the chocolate-coated candy canes before they set. It makes them look magical and festive!
Side Dishes
- Hot cocoa: A cup of rich hot cocoa pairs perfectly with peppermint sticks, creating a cozy winter treat that everyone will love.
- Christmas cookies: Serve alongside a platter of assorted Christmas cookies for a sweet dessert table. Think gingerbread men or sugar cookies decorated with icing!
- Fruit platter: Balance the sweetness of the peppermint sticks with a fresh fruit platter featuring seasonal fruits like oranges, apples, and pomegranates.
- Cheese board: Create a simple cheese board with mild cheeses and nuts. The creamy texture complements the crunchy peppermint sticks beautifully.
With these tips and serving suggestions, your homemade Christmas peppermint sticks will be a delightful addition to any holiday gathering! Enjoy making these joyful treats and spreading cheer this season!
Make Ahead and Storage
These Homemade Christmas Peppermint Sticks are perfect for meal prep! You can whip them up in advance and enjoy them throughout the holiday season. Here’s how to store and manage your delightful treats.
Storing Leftovers
- Allow the peppermint sticks to cool completely before storing.
- Place them in an airtight container to maintain freshness.
- Store at room temperature away from direct sunlight for up to two weeks.
Freezing
- Wrap each peppermint stick individually in wax paper.
- Place the wrapped sticks in a freezer-safe bag or container.
- They can be frozen for up to three months—perfect for saving some festive cheer!
Reheating
- Since these treats are best enjoyed at room temperature, there’s no need to reheat.
- If they’ve been frozen, let them thaw in the refrigerator overnight or on the counter for a few hours before serving.
FAQs
Here are some common questions you might have about making Homemade Christmas Peppermint Sticks!
Can I use regular chocolate instead of white chocolate for Homemade Christmas Peppermint Sticks?
Absolutely! Dark or milk chocolate can be used as a substitute. Just make sure it meets your dietary preferences.
How do I prevent my Homemade Christmas Peppermint Sticks from becoming too sticky?
To avoid stickiness, ensure that the chocolate coating is fully set before storing. You may also want to use a little extra peppermint essence for a more robust flavor without increasing moisture.
How long do Homemade Christmas Peppermint Sticks last?
When stored properly in an airtight container, they can last up to two weeks at room temperature. If you freeze them, they’ll keep well for about three months.
Final Thoughts
I hope you’re as excited about making these Homemade Christmas Peppermint Sticks as I am! They’re not only fun to create but also bring a delightful festive touch to any gathering. Enjoy the process, share with loved ones, and may your holiday season be filled with sweetness and joy. Happy baking!

Homemade Christmas Peppermint Sticks
- Prep Time: 10 minutes
- Cook Time: 10 minutes
- Total Time: 20 minutes
- Yield: Servings per recipe: 4
- Category: Dessert
- Method: No-bake
- Cuisine: American
Description
Bring festive cheer to your holiday celebrations with these delightful Homemade Christmas Peppermint Sticks! Combining the classic flavors of creamy white chocolate and refreshing peppermint, this easy no-bake treat is perfect for sharing at gatherings or gifting to loved ones. With just a few simple steps, you can create these charming candy delights that are sure to bring smiles and warmth during the holidays. Plus, making them is a fun activity for the whole family to enjoy together.
Ingredients
- 1 package of candy canes (12 pieces)
- 12 ounces of white chocolate
- 1 teaspoon peppermint essence
Instructions
- Crush the candy canes: Unwrap and place in a zip-top bag. Use a rolling pin to crush into small pieces.
- Melt the white chocolate: Chop chocolate into smaller pieces and melt in a microwave-safe bowl, stirring every 15 seconds until smooth.
- Mix in peppermint essence: Once melted, stir in the peppermint essence for enhanced flavor.
- Combine & shape: Mix crushed candy canes into melted chocolate, then spread evenly on a lined baking sheet.
- Chill & cut: Refrigerate for about an hour until firm, then cut into strips.
Nutrition
- Serving Size: 1 serving
- Calories: 106
- Sugar: 9g
- Sodium: 5mg
- Fat: 6g
- Saturated Fat: 4g
- Unsaturated Fat: 2g
- Trans Fat: 0g
- Carbohydrates: 11g
- Fiber: 0g
- Protein: 1g
- Cholesterol: 0mg