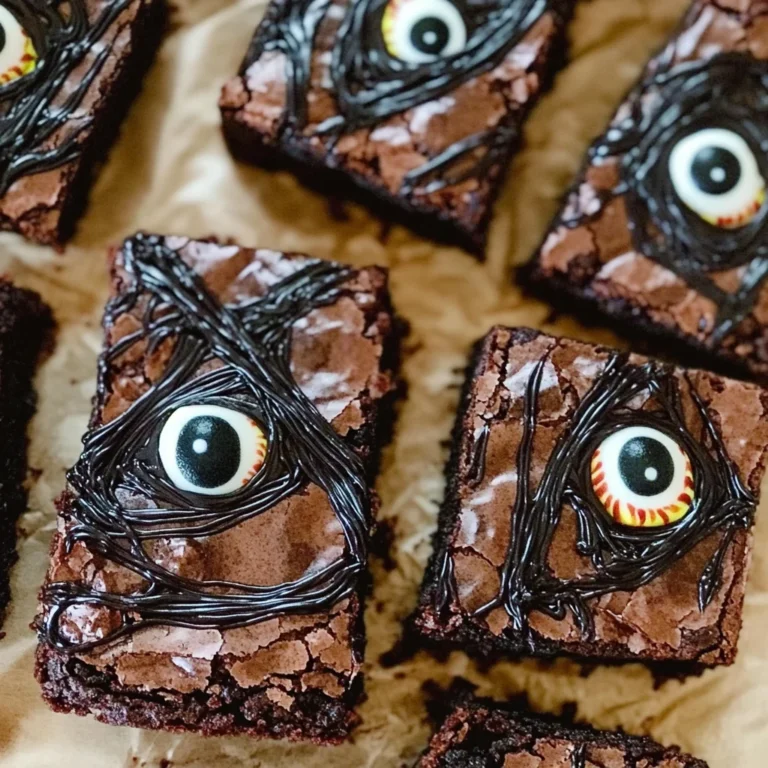
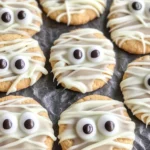
Nutter Butter Mummies
If you’re looking for an adorable and fun treat to whip up this Halloween, Nutter Butter Mummies are the way to go! These little delights are not only super cute but also incredibly easy to make. They’re perfect for busy weeknights or family gatherings where you want to add a festive touch without spending hours in the kitchen. Plus, who can resist that creamy peanut butter flavor wrapped in sweet white chocolate?
I love making Nutter Butter Mummies because they bring out the kid in all of us. Whether it’s for a Halloween party, a classroom treat, or just a fun family activity, these mummies will surely bring smiles all around. Let’s dive into how you can create these sweet spooky snacks!
Why You’ll Love This Recipe
- Super Simple: With just a few ingredients and minimal prep time, this recipe is perfect for beginners and seasoned bakers alike.
- Family-Friendly Fun: Kids love getting involved in the kitchen, and decorating these mummies is a great way to spark their creativity!
- Make-Ahead Treat: You can easily prepare these ahead of time. Just store them in an airtight container until you’re ready to serve.
- Deliciously Sweet: The combination of crunchy cookies and creamy chocolate makes each bite irresistible.
Ingredients You’ll Need
You’ll be glad to know that you only need a handful of simple, wholesome ingredients to make Nutter Butter Mummies. Here’s what you’ll need:
For the Mummies
- 8 Nutter Butter Cookies
- 1 (12 oz) bag White Chocolate Chips
- 16 Candy Eyes
Variations
One of the best things about Nutter Butter Mummies is their flexibility! Feel free to get creative with your decorations and flavors. Here are a few ideas:
- Add Sprinkles: Give your mummies some extra color by adding Halloween-themed sprinkles on top of the melted chocolate.
- Use Dark Chocolate: If you’re a fan of rich flavors, try using dark chocolate chips instead of white for a different twist.
- Make Them Mini: Use mini Nutter Butter cookies for smaller treats that are perfect for parties or snack platters.
- Dye Your Chocolate: Add food coloring to your melted white chocolate for some spooky hues!
How to Make Nutter Butter Mummies
Step 1: Prepare Your Workspace
Start by laying down parchment paper on your countertop. This will be your workspace and help prevent any mess while coating the cookies.
Step 2: Melt the Chocolate
In a small microwave-safe bowl, melt the white chocolate chips. Heat them in short intervals—about 30 seconds at a time—stirring in between until smooth. This step is crucial because properly melted chocolate will coat your cookies beautifully and set well.
Step 3: Coat the Cookies
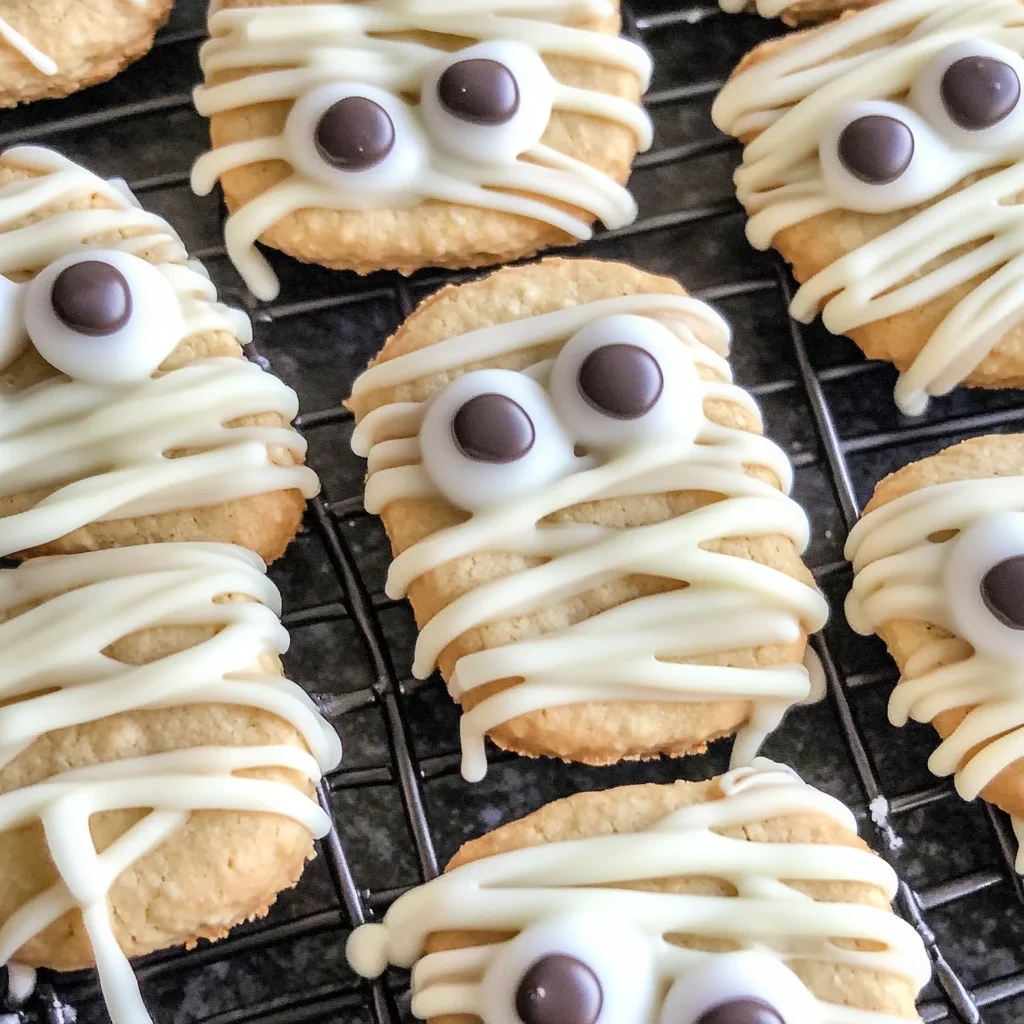
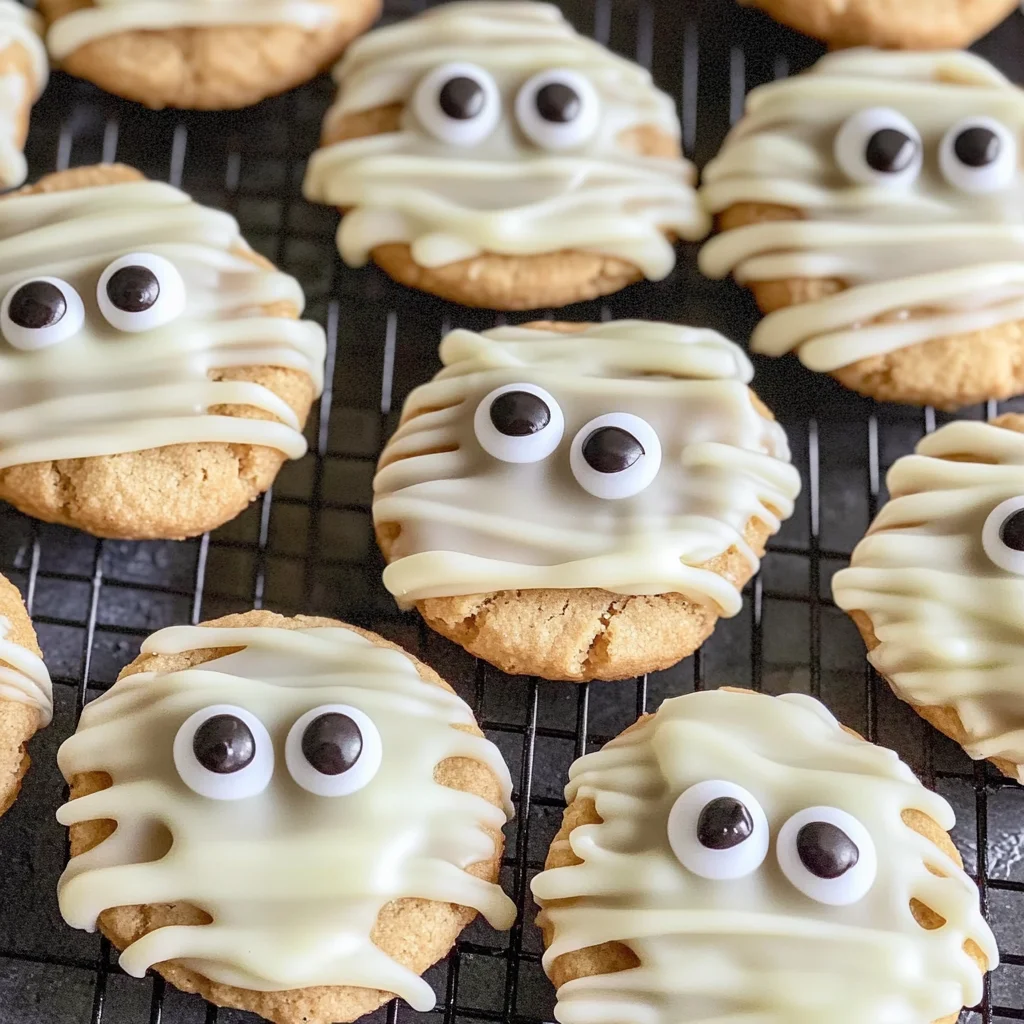
Dunk each Nutter Butter cookie into the melted chocolate, making sure it’s fully covered. Tap off any excess chocolate gently against the side of the bowl. Place each cookie on the parchment paper and add two candy eyes before the chocolate hardens. This part is so much fun, as you get to see your mummies come to life!
Step 4: Drizzle with More Chocolate
Once your initial coating has set (usually takes just a few minutes), melt any remaining chocolate again. Drizzle it over your hardened cookies in a zig-zag pattern. This gives them that classic mummy look—messy but adorable!
And there you have it! With just a bit of effort, you’ve created delightful Nutter Butter Mummies that are sure to impress everyone who sees (and tastes) them! Enjoy making these spooky treats this Halloween!
Pro Tips for Making Nutter Butter Mummies
Creating these adorable Nutter Butter Mummies is a delightful experience, and a few helpful tips can make the process even smoother!
-
Melt chocolate gently: Use a microwave in short bursts to melt the white chocolate chips. This prevents burning and ensures a silky smooth consistency, making it easier to coat the cookies.
-
Use a fork for dipping: Instead of using your fingers to dunk the cookies, try using a fork. This allows you to dip them more easily and helps tap off the excess chocolate without making a mess.
-
Chill for quicker hardening: If you’re in a hurry, pop the dipped cookies into the refrigerator for a few minutes after placing the candy eyes. This speeds up the hardening process and keeps everything intact.
-
Get creative with drizzling: For an extra spooky touch, use contrasting colors, like dark chocolate drizzle on top of the white chocolate. It adds depth and enhances the mummy look!
-
Make it a fun activity: Involve kids or friends in decorating! Let everyone create their own unique mummies by adding different amounts of drizzle and arranging the candy eyes.
How to Serve Nutter Butter Mummies
Presenting your Nutter Butter Mummies can be as fun as making them! Here are some ideas to display these tasty treats that will surely impress your guests.
Garnishes
- Sprinkles: Use festive Halloween-themed sprinkles around your mummies to add color and fun.
- Chocolate shavings: A sprinkle of chocolate shavings can add an extra layer of flavor and make your presentation pop.
Side Dishes
-
Pumpkin Spice Popcorn: This sweet and savory treat pairs beautifully with Nutter Butter Mummies by bringing in autumn flavors that complement their sweetness.
-
Caramel Apple Slices: Crisp apple slices drizzled with caramel provide a refreshing contrast to the rich mummies, perfect for balancing out sweetness at your Halloween gathering.
-
Vegetable Platter with Hummus: A colorful array of veggies served with hummus offers a healthy crunch alongside dessert, keeping things light.
-
Ghostly Banana Bites: Simple banana slices with chocolate chip eyes can mimic little ghosts, making them an ideal sidekick for your spooky dessert table!
With these tips and serving suggestions, your Nutter Butter Mummies will not only taste amazing but also look fantastic on any Halloween spread. Enjoy every bite!
Make Ahead and Storage
This Nutter Butter Mummies recipe is perfect for meal prep, especially during the Halloween season! You can whip up a batch ahead of time and store them for your upcoming parties or family gatherings.
Storing Leftovers
- Store any leftover Nutter Butter Mummies in an airtight container at room temperature.
- They will stay fresh for up to 3 days.
- Avoid refrigerating, as that may cause the chocolate to become cloudy.
Freezing
- If you want to save some treats for later, you can freeze Nutter Butter Mummies.
- Place them in a single layer on a baking sheet and freeze until solid.
- Once frozen, transfer them into a freezer-safe bag or container. They can be stored for up to 2 months.
Reheating
- These delicious mummies are best enjoyed at room temperature.
- To thaw frozen mummies, simply remove them from the freezer and let them sit at room temperature for about 30 minutes before serving.
FAQs
Here are some common questions you might have about making Nutter Butter Mummies.
Can I use dark chocolate instead of white chocolate for Nutter Butter Mummies?
Yes! You can absolutely substitute dark chocolate chips for white chocolate. Just follow the same melting instructions, and you’ll have a delightful twist on this treat.
How do I make my Nutter Butter Mummies look even better?
To enhance their spooky appearance, consider adding edible glitter or sprinkles after drizzling the melted chocolate. This adds an extra festive touch!
How long do Nutter Butter Mummies last?
When stored properly in an airtight container at room temperature, these sweet treats will remain fresh for up to 3 days.
Can I put sticks in my Nutter Butter Mummies?
Absolutely! For a fun twist, insert popsicle sticks into the cookies before dipping them in chocolate. This makes them easier to hold and great for parties!
Final Thoughts
Nutter Butter Mummies are not just adorable; they’re also incredibly simple to make—perfect for bringing joy during Halloween festivities! I hope you have as much fun creating these delightful treats as I did. Enjoy every bite and share them with friends and family! Happy Halloween!
Nutter Butter Mummies
- Prep Time: 15 minutes
- Cook Time: 5 minutes
- Total Time: 20 minutes
- Yield: Makes 8 servings 1x
- Category: Dessert
- Method: No-Bake
- Cuisine: American
Description
Create festive Nutter Butter Mummies with this easy recipe that’s perfect for Halloween gatherings! These adorable treats feature crunchy cookies coated in sweet white chocolate, making them both a fun activity and a delicious dessert. With minimal prep time and simple ingredients, you’ll have a spooky snack ready in no time. They’re great for parties, classroom treats, or as a delightful family project that brings out everyone’s creativity. Plus, the delightfully creamy peanut butter flavor adds to their appeal—who can resist these charming mummies? So gather your ingredients and get ready to impress with this sweet Halloween surprise!
Ingredients
- 8 Nutter Butter Cookies
- 1 (12 oz) bag White Chocolate Chips
- 16 Candy Eyes
Instructions
- Prepare your workspace by laying down parchment paper on your countertop.
- Melt the white chocolate chips in a microwave-safe bowl, heating in short intervals (30 seconds at a time) until smooth.
- Dunk each Nutter Butter cookie into the melted chocolate until fully covered, then tap off excess chocolate. Place on parchment paper and add two candy eyes before chocolate hardens.
- Once set, drizzle more melted chocolate over the cookies in a zig-zag pattern for that classic mummy look.
Nutrition
- Serving Size: 1 cookie
- Calories: 150
- Sugar: 14g
- Sodium: 40mg
- Fat: 7g
- Saturated Fat: 4g
- Unsaturated Fat: 2g
- Trans Fat: 0g
- Carbohydrates: 21g
- Fiber: 1g
- Protein: 2g
- Cholesterol: 0mg