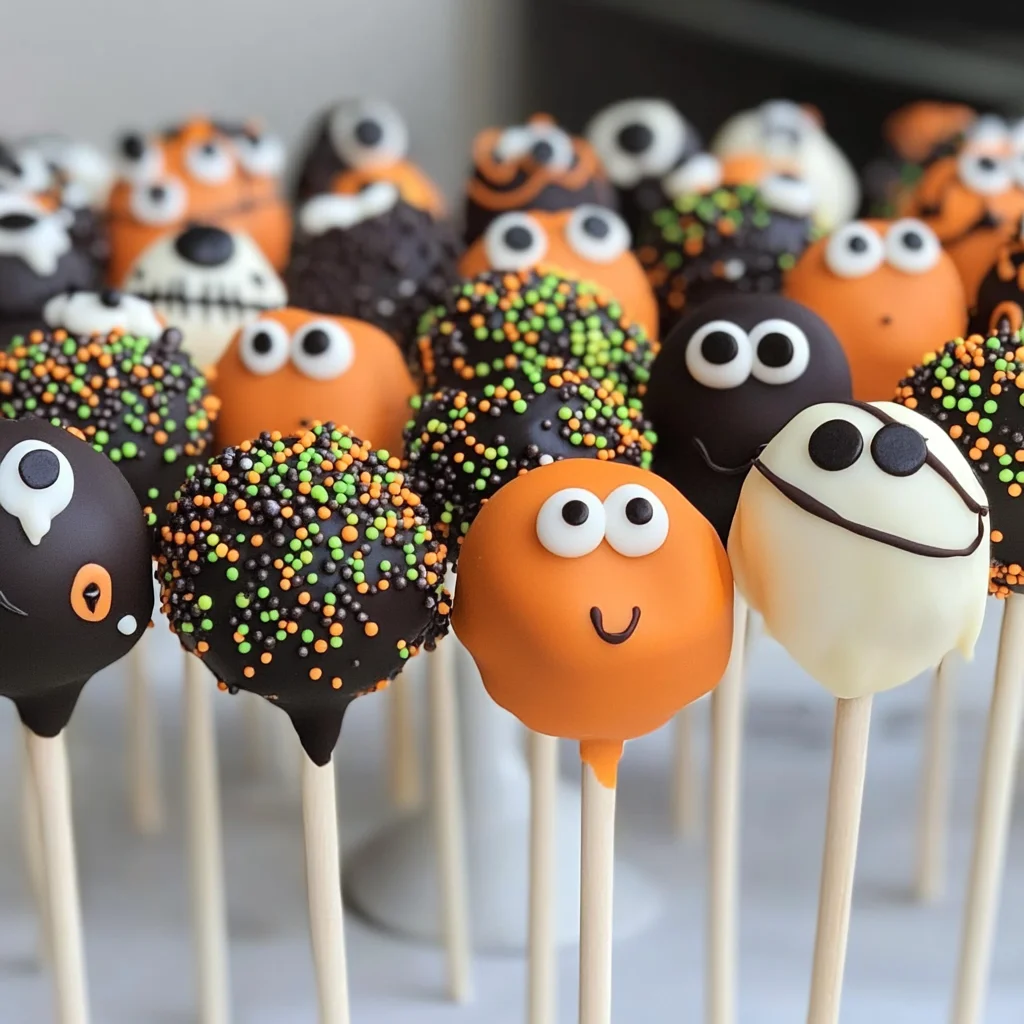
Halloween Cake Pops
If you’re looking for a fun and festive treat to bring joy to your Halloween gatherings, these Halloween Cake Pops are just the thing! They combine the deliciousness of chocolate fudge cake and creamy frosting into delightful little bites. Perfect for both kids and adults, these pops are a fantastic way to celebrate the spooky season. Plus, they’re easy to make, so you can whip them up even on busy weeknights!
What I love most about these Halloween Cake Pops is how versatile they are. You can get creative with decorations or keep it simple for a quick sweet fix. Whether it’s a family gathering, a Halloween party, or just a cozy night in, these cake pops will surely be a hit.
Why You’ll Love This Recipe
- Easy to make: The steps are straightforward, and you’ll have fun making these with family or friends.
- Family-friendly appeal: Kids love them! They’re perfect for little hands and can be decorated in endless ways.
- Make-ahead convenience: Prepare them ahead of time and freeze until you need them. They’re great for stress-free entertaining!
- Customizable designs: Get creative with toppings and colors to match your Halloween theme.
- Delicious flavor: The combination of fudgy cake and sweet chocolate is irresistible!
Ingredients You’ll Need
These Halloween Cake Pops use simple, wholesome ingredients that you probably already have in your pantry! Let’s gather everything we need to get started:
For the Cake
- 15 ounce chocolate fudge cake mix (prepared in 9×13 dish)
- 1/2 cup butter
- 2 tablespoons shortening
- 1 cup powdered sugar
- 1/2 cup cocoa powder
- 1/2 teaspoon vanilla
- 2-3 tablespoons milk
For the Coating and Decoration
- 8 ounces white candy melts
- 8 ounces orange candy melts
- 10 ounces green candy melts
- 10 ounces black candy melts
- 30 candy eyeballs
- 20 candy corn
- 10 heart sprinkles
- 40 lollipop sticks (6 inch)
- Piping bags (or you can use a ziplock bag and cut the corner)
Variations
This recipe is quite flexible, so feel free to get creative! Here are some fun ideas:
- Change the cake flavor: Use vanilla or red velvet cake mix instead of chocolate for a different twist.
- Try different coatings: Swap out candy melts for colored chocolate or even yogurt coating for an alternative taste.
- Decorate with different sprinkles: Use seasonal sprinkles like stars or fall leaves to give your pops a unique flair.
- Add flavors to the frosting: Mix in some almond extract or orange zest for an added zing!
How to Make Halloween Cake Pops
Step 1: Bake the Cake
Begin by baking your cake according to the package instructions in a 9×13 pan. Once it’s done baking, let it cool completely. This step is important because if the cake is warm, it won’t crumble properly when mixed with frosting.
Step 2: Prepare the Frosting
In a large bowl, combine your butter, shortening, powdered sugar, cocoa powder, and vanilla. Add in 2-3 tablespoons of milk until you reach a smooth consistency after mixing on high for about 2-3 minutes. This frosting will help bind your crumbled cake together while adding delicious flavor!
Step 3: Crumble the Cake
Once cooled, gently crumble the cake into fine crumbs using your hands. This process allows us to evenly mix in the frosting later on. It should resemble fine crumbs that hold together when pressed.
Step 4: Mix Cake Crumbs with Frosting
Take small amounts of frosting at a time and mix it into the crumbled cake using your hands. The mixture should be moist enough to form tight balls without falling apart—this is key for achieving perfect pops!
Step 5: Shape the Cake Balls
Line a cookie sheet with parchment paper. Using a standard cookie scoop, form tight balls from the mixture and roll them between your palms until smooth. Place these balls on the lined sheet as you go; this keeps everything organized.
Step 6: Insert Lollipop Sticks
In a small bowl, melt about 1/4 cup of any color candy melts following package directions. Dip the tip of each lollipop stick into melted chocolate before inserting it into each ball about three-quarters of the way through. This helps secure the stick better inside each pop.
Step 7: Chill Before Decorating
Place your cookie balls in the freezer for about 30 minutes. Chilling them ensures that they hold their shape when covered in melted candy later on. After chilling, take them out and let your creativity run wild with decorations!
Pro Tips for Making Halloween Cake Pops
Making Halloween Cake Pops can be a fun and rewarding experience, especially when you have a few tips up your sleeve!
- Use a cooled cake: Allowing your cake to cool completely is crucial; warm cake can make the mixture too gooey, making it difficult to shape into pops.
- Adjust frosting consistency: If your mixture feels too dry, add more frosting gradually. This ensures the cake pops hold together well without being overly sweet.
- Temperature control: Freezing the cake balls before dipping helps them maintain their shape and prevents them from crumbling in the melted chocolate.
- Melt chocolate carefully: Always melt candy melts in short intervals, stirring in between. This prevents burning and ensures a smooth coating for your pops.
- Creative decorations: Don’t hesitate to get creative with sprinkles or edible glitter! They not only enhance the look but also add a fun crunch to each bite.
How to Serve Halloween Cake Pops
Presenting your Halloween Cake Pops in a fun and festive manner can truly elevate your dessert table. Here are some ideas on how to showcase these delicious treats beautifully!
Garnishes
- Colorful sprinkles: Use vibrant Halloween-themed sprinkles like orange and black ones for added flair and texture.
- Chocolate drizzles: Drizzle contrasting melted chocolate over the pops for a stylish touch that adds both flavor and elegance.
- Edible glitter: Sprinkle some edible glitter on top of the melted chocolate for an enchanting sparkle that’s perfect for Halloween!
Side Dishes
- Halloween-themed fruit platter: Create a spooky fruit platter using seasonal fruits like oranges, apples, and grapes cut into fun shapes (like ghosts or pumpkins) for a refreshing contrast.
- Cheese and cracker board: An assortment of cheeses paired with festive crackers offers a savory balance to the sweetness of the cake pops. You can even use cookie cutters to create spooky shapes!
- Veggie sticks with dip: Crisp veggies like celery, carrots, and bell peppers served with hummus or ranch dressing make for a healthy side that complements the dessert nicely.
- Pumpkin soup: A warm bowl of creamy pumpkin soup is not only comforting but also fits perfectly into the Halloween theme, providing a delightful contrast to sweet treats.
Now that you have all these tips and serving ideas, you’re ready to host an unforgettable Halloween gathering filled with delightful treats! Enjoy making your Halloween Cake Pops and sharing them with friends and family!
Make Ahead and Storage
These Halloween Cake Pops are not just a delightful treat but also perfect for meal prep! You can make them ahead of time and store them for later, ensuring you’re always ready to celebrate the spooky season with something sweet.
Storing Leftovers
- Store cake pops in an airtight container at room temperature for up to 3 days.
- For longer storage, keep them in the refrigerator for up to a week.
- If you have decorated pops, make sure they are completely dry before storing to avoid smudging.
Freezing
- Wrap each cake pop individually in plastic wrap or aluminum foil.
- Place wrapped pops in a freezer-safe bag or container.
- They can be frozen for up to 3 months. When ready to enjoy, let them thaw at room temperature for about an hour.
Reheating
- Cake pops are best enjoyed at room temperature, so no reheating is necessary.
- If they were refrigerated, simply take them out and let sit for about 30 minutes before serving.
FAQs
Here are some common questions you might have about making Halloween Cake Pops:
Can I use any cake mix for Halloween Cake Pops?
Absolutely! While this recipe uses a chocolate fudge cake mix, feel free to experiment with your favorite flavors. Just ensure the cake holds together well when crumbled and mixed with frosting.
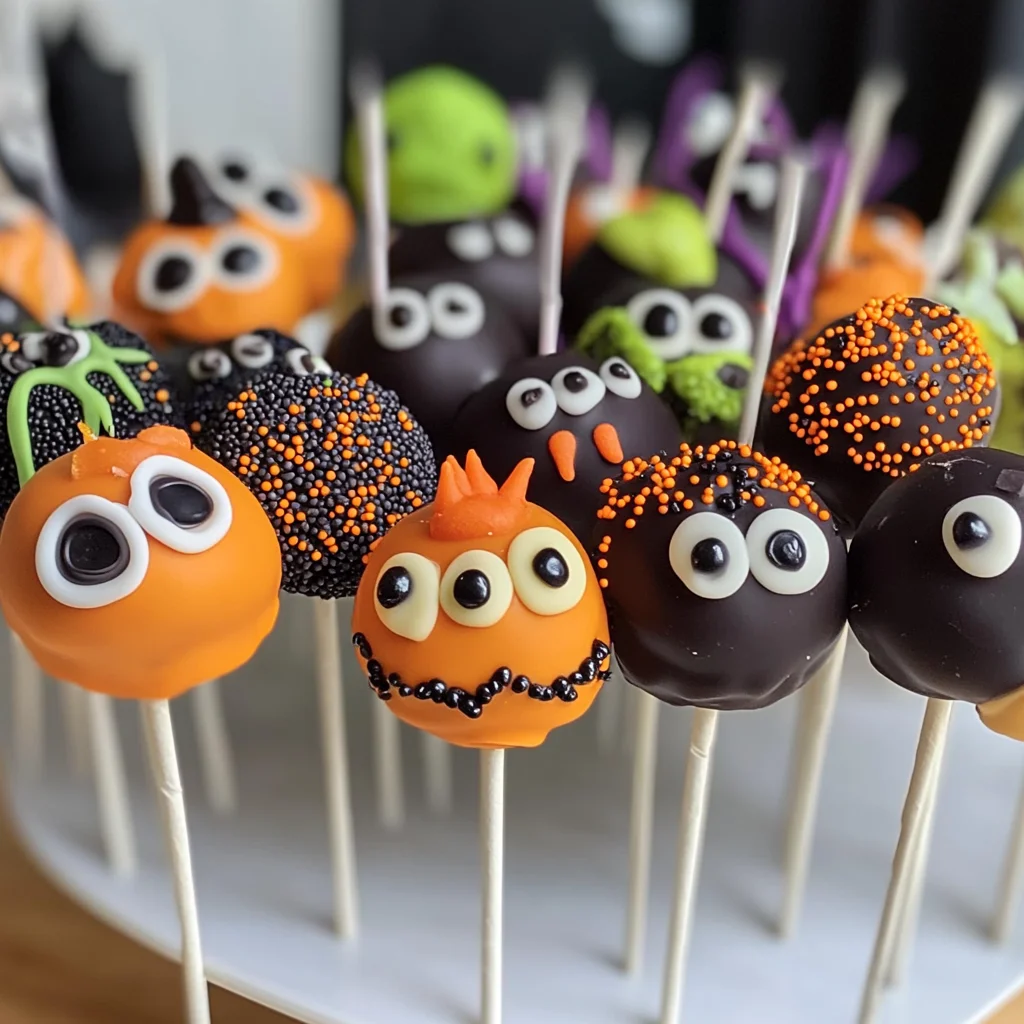
How do I decorate my Halloween Cake Pops?
Get creative! Use different colored candy melts to dip your pops and add fun decorations like candy eyeballs, sprinkles, or edible glitter. You can make them as spooky or as festive as you like!
Can I make Halloween Cake Pops ahead of time?
Yes! These treats are great for meal prep. You can prepare and decorate them a few days in advance and store them properly until you’re ready to serve.
What if my cake balls won’t hold their shape?
If your mixture is too dry, add a bit more frosting. If it’s too wet, add more crumbled cake. The right consistency will help your Halloween Cake Pops hold their shape beautifully.
How many servings does this recipe yield?
This recipe yields approximately 40 delicious Halloween Cake Pops, perfect for sharing at parties or enjoying as a spooky snack!
Final Thoughts
I hope you have as much fun making these Halloween Cake Pops as I do! They’re not only delicious but also a fantastic way to bring a little creativity into your kitchen during the spooky season. Whether you’re hosting a party or just treating yourself, these pops are sure to bring smiles all around. Happy baking, and I can’t wait for you to try this delightful recipe!

Halloween Cake Pops
- Prep Time: 30 minutes
- Cook Time: 30 minutes
- Total Time: 1 hour
- Yield: Approximately 40 servings 1x
- Category: Dessert
- Method: Baking
- Cuisine: American
Description
Get ready to celebrate Halloween with these delightful Halloween Cake Pops! Combining the rich taste of chocolate fudge cake with creamy frosting, these bite-sized treats are perfect for parties and gatherings. Easy to make, they invite creativity in both decoration and flavor, making them a hit among kids and adults alike. Whether you’re hosting a spooky soirée or enjoying a cozy night in, these festive treats will bring smiles all around. Plus, you can prepare them ahead of time, making entertaining stress-free!
Ingredients
- 15 ounces chocolate fudge cake mix (prepared in 9x13 dish)
- 1/2 cup butter
- 2 tablespoons shortening
- 1 cup powdered sugar
- 1/2 cup cocoa powder
- 1/2 teaspoon vanilla
- 2–3 tablespoons milk
- 8 ounces white candy melts
- 8 ounces orange candy melts
- 10 ounces green candy melts
- 10 ounces black candy melts
- 30 candy eyeballs
- 20 candy corn
- 10 heart sprinkles
- 40 lollipop sticks (6 inch)
- Piping bags (or you can use a ziplock bag and cut the corner)
Instructions
- Bake the chocolate fudge cake mix according to package instructions in a 9×13 pan. Allow it to cool completely.
- In a bowl, blend together butter, shortening, powdered sugar, cocoa powder, and vanilla. Gradually add milk until smooth.
- Crumble the cooled cake into fine crumbs and mix with the frosting until moist enough to form balls.
- Shape mixture into tight balls and place on parchment-lined cookie sheet.
- Melt candy melts according to package directions; dip lollipop sticks in melted candy before inserting into each cake ball.
- Freeze cake pops for 30 minutes before decorating with melted candy melts and toppings.
Nutrition
- Serving Size: 1 cake pop (45g)
- Calories: 160
- Sugar: 15g
- Sodium: 50mg
- Fat: 8g
- Saturated Fat: 4g
- Unsaturated Fat: 4g
- Trans Fat: 0g
- Carbohydrates: 20g
- Fiber: 1g
- Protein: 2g
- Cholesterol: 10mg